My Patchwork Writing Process
I've been writing novels for more than twenty years now—CAN YOU BELIEVE THAT?—but there is always more to learn about the craft, and more to observe of one's natural inclinations. This is how and why I do what I do. Here are some ways I might fine-tune a particular step in my process—for greater "efficiency," yes, but also for greater enjoyment.
As I listened to the audio modules inside my dear friend Heather Demetrios's new on-demand course, You Have a Process, it occurred to me that while I've spent plenty of time charting out my idea-generation process—on YouTube and inside The Bright Idea Kit—I haven't reflected too much on the actual drafting, which is far and away the most intimidating part from most aspiring writers' point of view. If you'd asked about my first-drafting style before going through You Have a Process, this is what I'd've told you:
I bring piles of handwritten notes to the Scrivener document. I don't write in chronological order. Usually I'll write fifty pages or so and then I'll outline the entire book. At the end of a writing session, I try to have a kernel of a scene to start with the next day—something I'm excited to dictate into Scrivener as I'm watching it play out in my head. Maybe eighty percent of the time I slip into flow within minutes, the other 20% being tooth-pulling days, but I don't get down on myself. Doing yoga, going for a walk, taking a shower, cooking dinner, or working on an easy knitting or sewing project helps with a mild case of creative constipation (because I don't experience "block," per se—not anymore). Whatever isn't quite coming together, the solution generally slides in at an oblique angle (i.e., it has nothing to do with whatever is in front of me, but it shows up because mentally I've cleared the space for it.)
This is all true, but it's not as specific (and therefore as helpful for other writers) as it could be.
From the beginning I understood that many (if not a majority of) writers draft their stories in chronological order, and it didn't seem like a problem that I never felt inclined to write that way. In my initial drafting phase, I sit down to write whichever scenes I feel like. I'm only 30% of the way through my first draft of the time-travel novel, but I've already written a pivotal conversation that happens in the last chapter. At some point as I was listening to my friend's warm and reassuring voice coming out of my bedside speaker, I had the most delicious little a-ha moment:
I draft a novel in much the same way I cut and assemble a piece of patchwork!
It's been a long time since I've blogged about my crafting—I have a baby-quilt show-and-tell post from 2019 still languishing in my drafts—though I have shared more on Instagram in this video on creative cross-pollination and this one on "avocational ambition." (Those are YouTube links, in case you don't have an Instagram account.)
Baby quilt for my cousin Jenni, 2019.
The most basic definition of patchwork is cutting large pieces of fabric (usually quilting cotton) into smaller—sometimes very small—pieces, rearranging and then stitching them into a visually pleasing design. Sometimes it's traditional and perfectly geometric and other times (as in "crazy" or crumb quilting) you're making it up as you go. It's not a perfect analogy, but for me it's an illuminating one: because in both disciplines I generate purposeful fragments—discrete moments of connection or observation or insight, without thinking too much about context or finishing—and after months of working in this fashion, I can arrange those many pieces into a sensible order and add the necessary "sashing" so that each scene continues "seamlessly" (har, har) into the next.
My first curved piecing (2018).
Slowly coming together...
Arranging and adding the sashing.
To mix our metaphors here, what I'm calling "sashing" is what many writing teachers would refer to as "connective tissue." In a particular chapter, I might have 60% of scene A, only a half-finished dialogue from scene B, and a scene C that is more or less complete. Because I have my outline by this stage—my self-drafted pattern, in needlework parlance—I mostly know what more is needed in scene A, how to get the characters to the point that they are having the conversation in scene B, and how to segue into scene C. There are still question marks here and there, particularly where the science (or "science") is concerned, or more historical research is required, but as I proceed from here I have every confidence that I will eventually gather the information I need to fill those lacunae.
In essence, I compose my first draft in two stages: there is the initial draft-whatever-I-please, cutting-up-calico-into-itty-bitty-pieces phase, and then there is the arrangement and assembly/filling-in phase. Both are enjoyable, but the second phase is more consistently so because I already have a large bank of material to work with. It's easier to compose a line that sings—a sentence I can feel proud of—if it's closing out a scene I half-drafted three months earlier.
Amazing, isn't it, how long it's taken me to notice just how process-oriented and low-pressure my natural method of drafting truly is! (And of course now I'm thinking about how I can demonstrate using actual writing samples—that'll eventually be a video inside the Bright Idea Kit. I'll include photos from my crumb-quilting, which is an even tidier analogy!)
[EDIT, November 2023: my Teachable courses are no longer available (I gotta cough up to keep them live, and I don’t have the bandwidth for marketing right now), but I will make it available inside my Resource Library; subscribe to email updates to snag the password.]
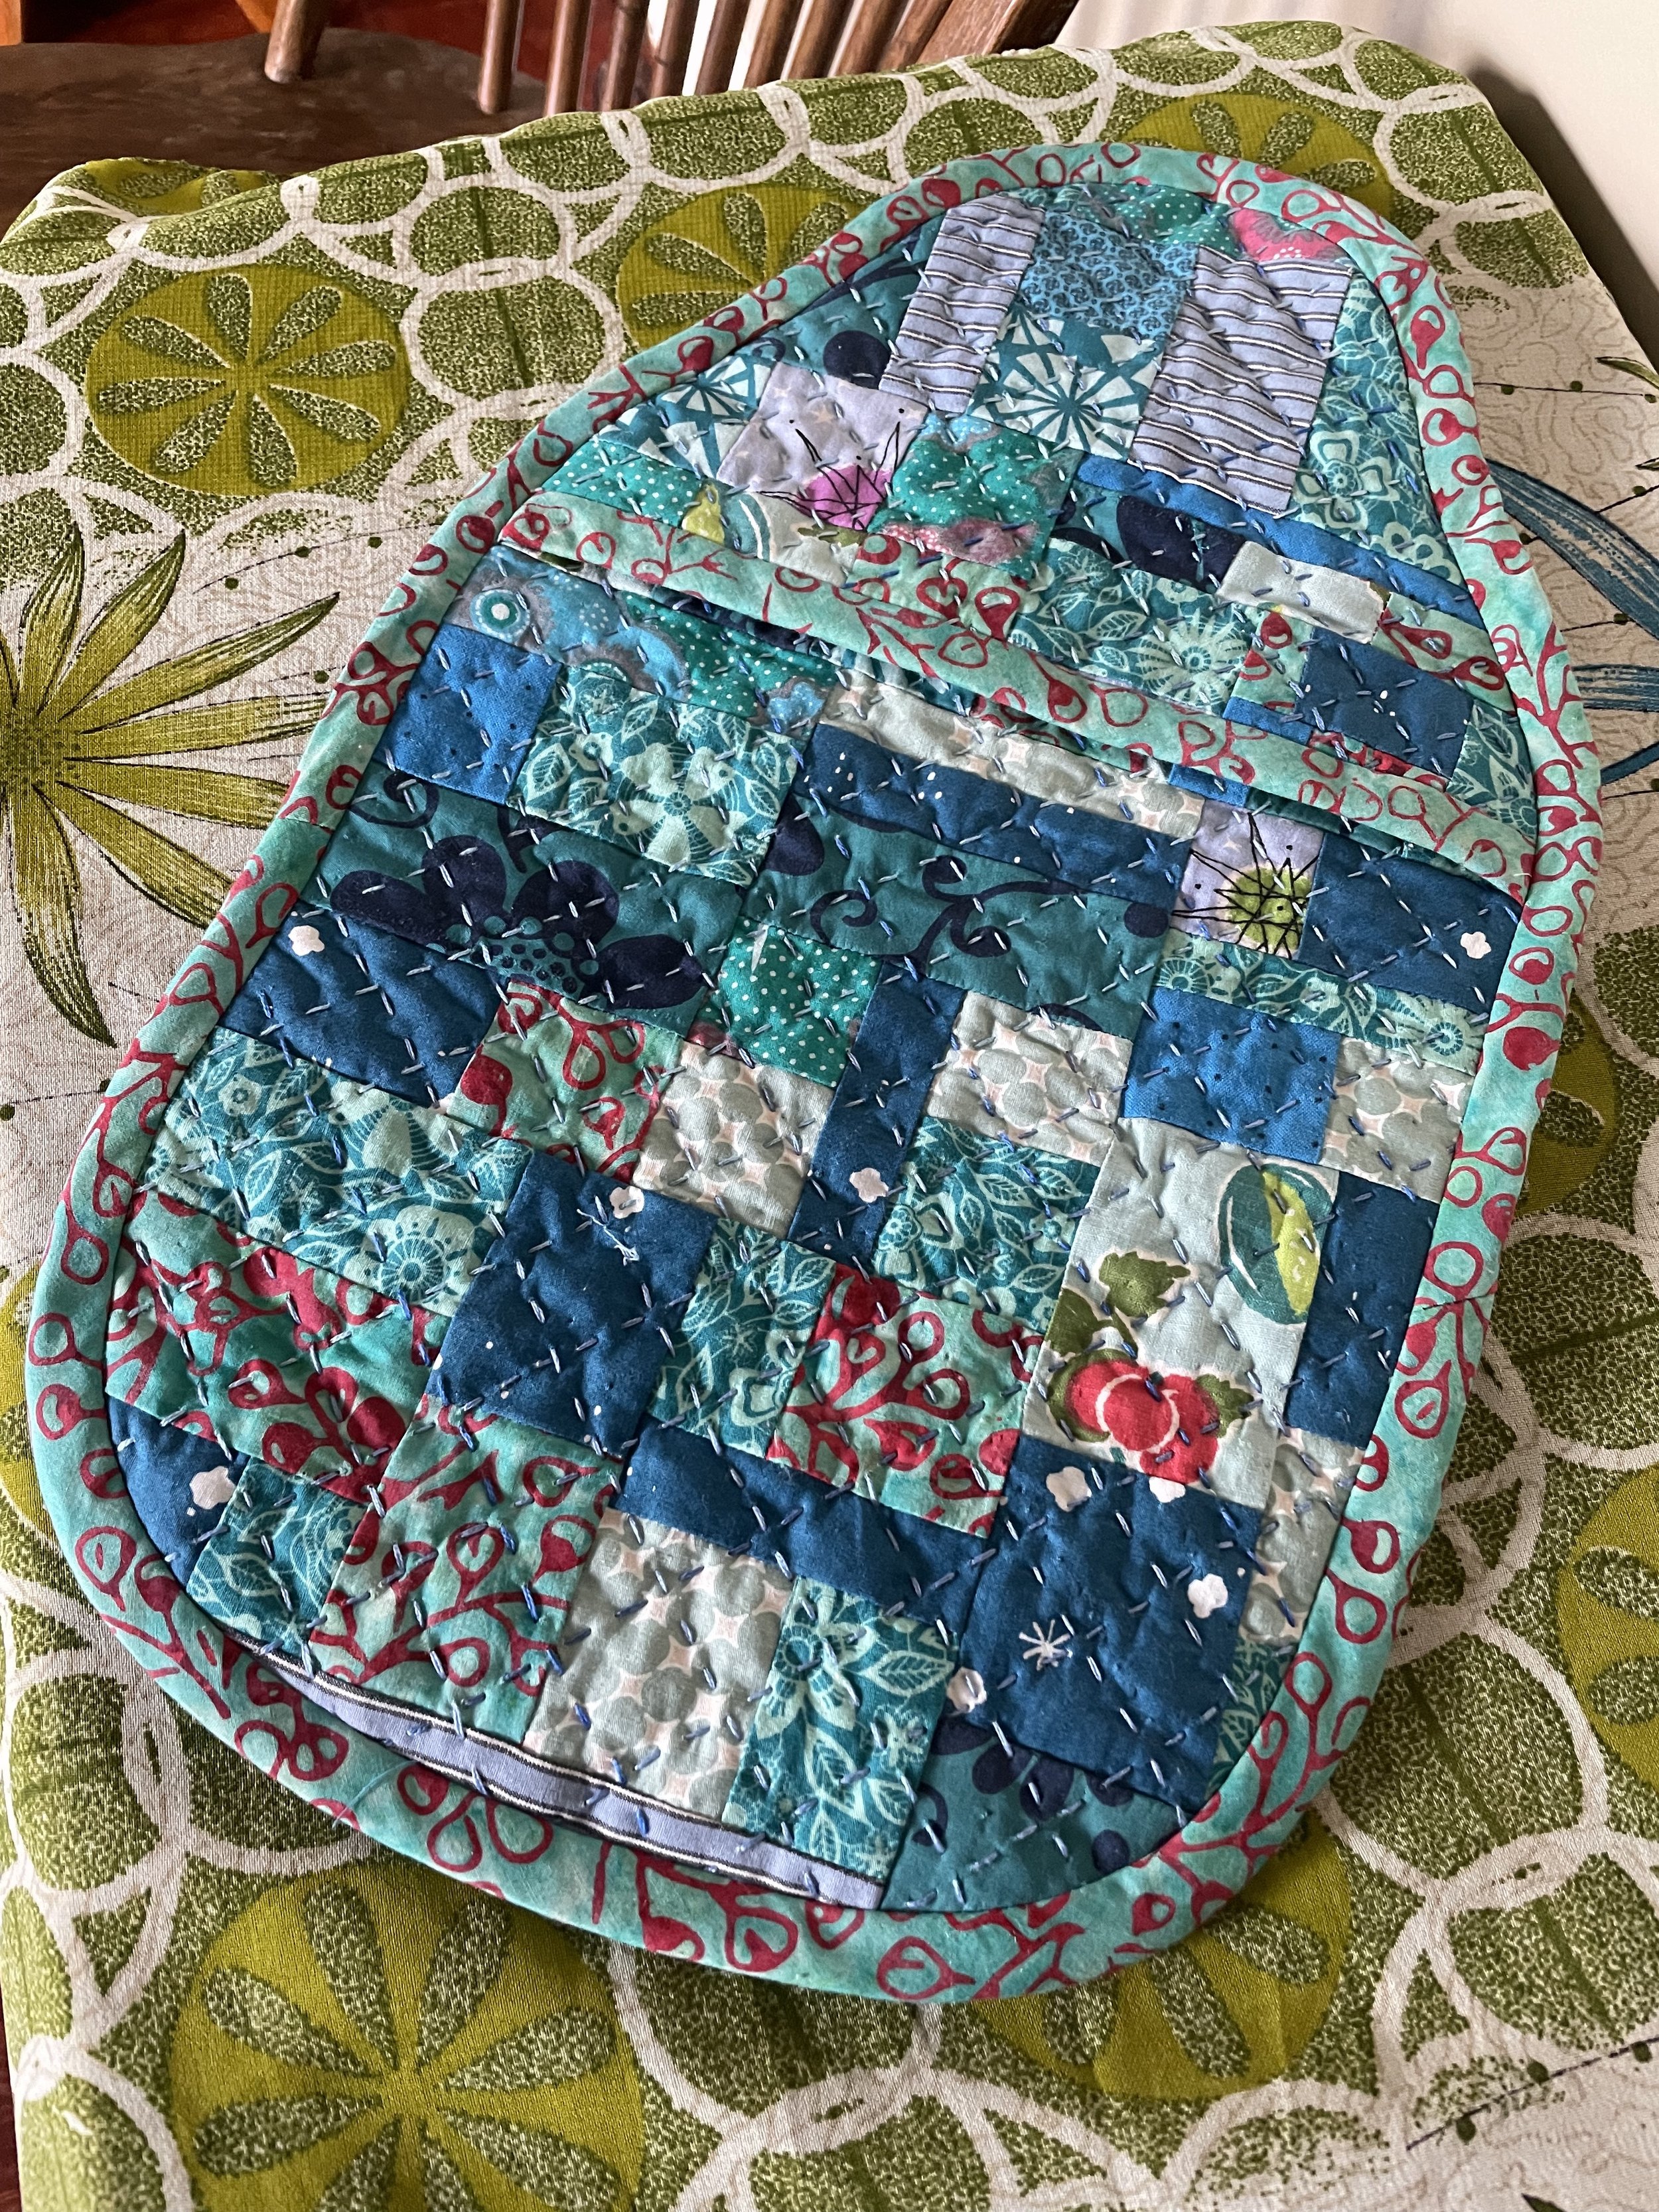
Hot water bottle cover for my friend Joelle.
Starry Sorbetto and Retro Apples
Another sewing post!
For Christmas, I sewed my roommate a Sorbetto blouse using the yard-plus I had left over from my starry Darling Ranges dress. She'd oohed over the fabric, and she does seem to like (usually understated) metallics. This was my second time using this pattern—Sorbetto #1 was a Christmas present for my sister (in 2013, I think? or 2014?) using a fuchsia rayon from Mood. I never did get a picture of her wearing it, but that's okay—it came out too short so I'm not sure how much she's actually been able to wear it. I learned my lesson, and added length this time. Other than that, this pattern is great (especially since it's free!)
* * *
I moved into this lovely old attic apartment at the beginning of summer 2014, and spent the first couple weeks shopping for furniture at Goodwill and Boomerangs. I fell in love with this 1930s-(ish?) folding chair—it was only five bucks!!—so home it came with me. All along the plan was to remove the old vinyl seat covering and recover it with something awesome, but as you can tell by the date stamp on this blog post, it's taken an inexplicably long time to complete the easiest DIY project ever.
The fabric is an utterly delightful linen upholstery weight from Cotton + Steel, which waited patiently in the drawer while I got myself organized enough to pick up a foam chair pad from Jo-Ann. I cut the pad to size with a box cutter, pulled all the rusty old staples out, and put on the new upholstery using a staple gun left over from my canvas-stretching days.
Believe it or not, it is possible to fall head-over-heels in love with a folding chair. This print puts a big smile on my face every time I look at it.
I'm working on my dress for Kate's wedding at the moment, so that'll probably be the next project I blog!
Foxes and Rabbits
‘And carrots, Dad!’ said the smallest of the three small foxes. ‘We must take some of those carrots!’
‘Don’t be a twerp,’ said Mr. Fox. ‘You know we never eat things like that.’
‘It’s not for us, Dad. It’s for the Rabbits. They only eat vegetables.’
'My goodness me, you're right!' cried Mr. Fox. 'What a thoughtful little fellow you are! Take ten bunches of carrots.'
—Roald Dahl, Fantastic Mr. Fox
* * *
Just when you thought my home-sewn wardrobe couldn't get any more twee...
Best of all, they are vegetarian foxes, frolicking most innocently with their bosom bunnies. I saw this fabric at Grey's last summer (a few months before Sarah decided to pack it in) and could not resist it.
From this unabashedly twee cotton I made my second Hawthorn, this time with short sleeves. I was hurrying to finish this dress in time to wear to Kendall's Drift & Dagger launch party in September 2015 (I told you I had a backlog of sewing posts!), and in my haste I did not ease the sleeve cap in as smoothly as I could have. But as I have already confessed, if you aren't going to notice my shortcuts then I am probably not going to get around to fixing them anytime soon!
Matt and I ['who is Matt?' Read this] went to the MFA the other day and he (very patiently) took more photos so I could finally publish this post. Can you tell this is my favorite dress pattern? It is so flattering and so fun (though I did no twirlies at the museum. I should have.) I finished a third Hawthorn back in September for the Life Without Envy launch, but I still have to get good photos.
I played with some of the Flickr filters on these last two. Happy New Year, everybody! (God help us all............)
Christmas Dahlia dress
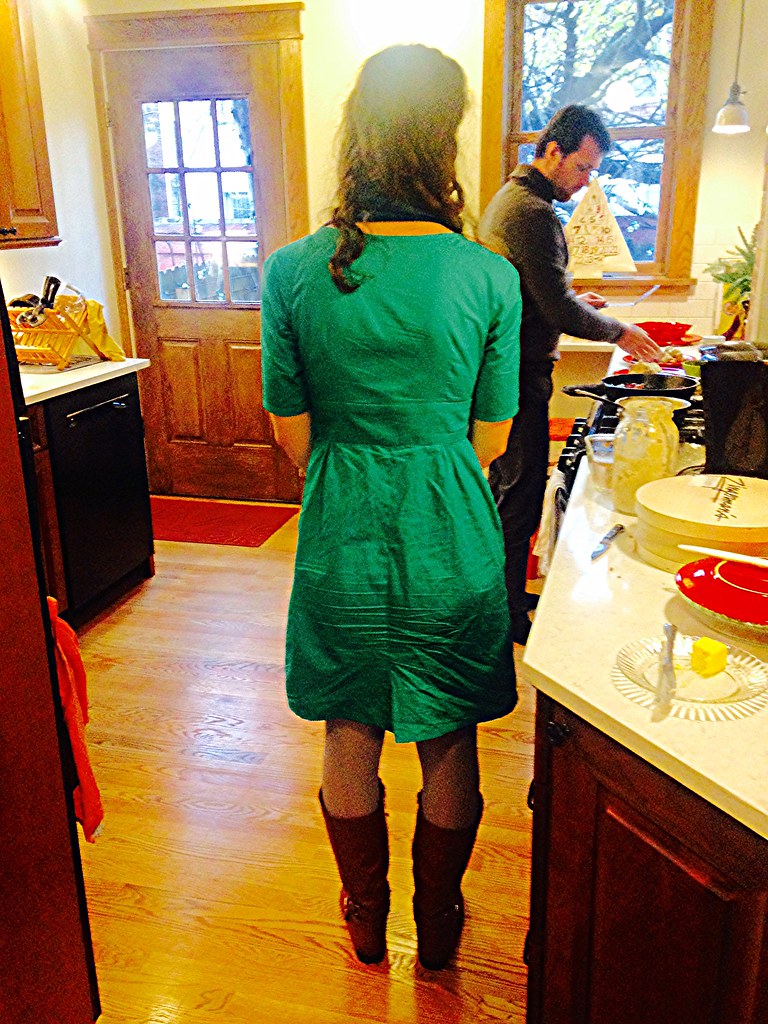
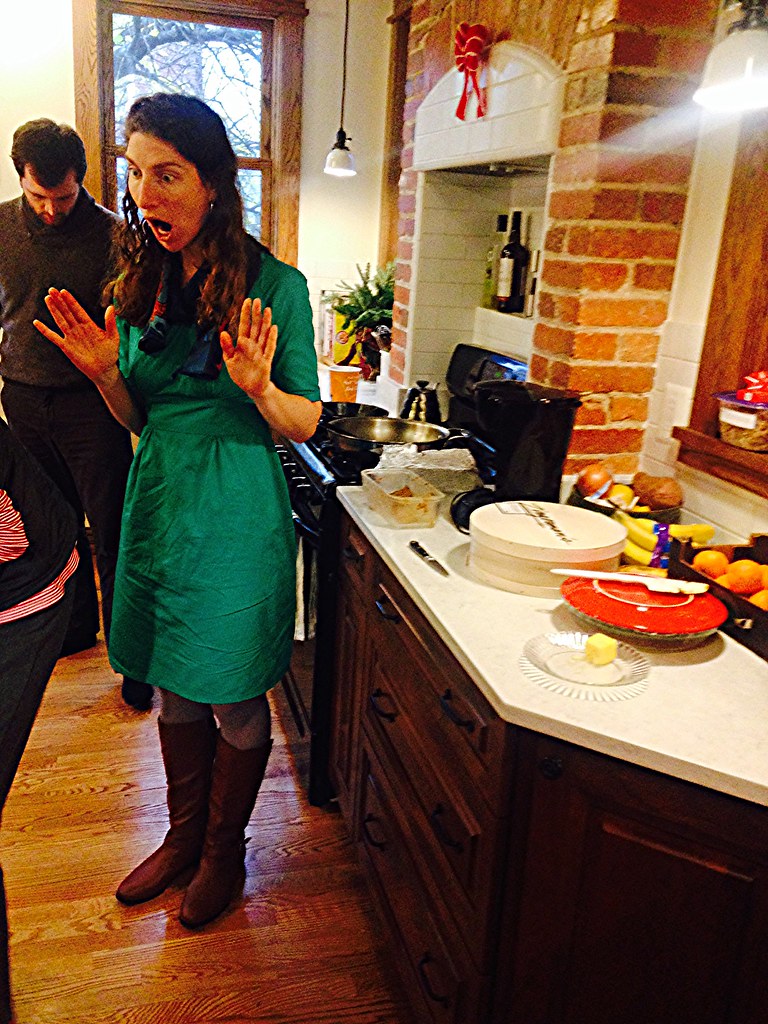
I may just find my way back into blogging through a backlog of sewing posts.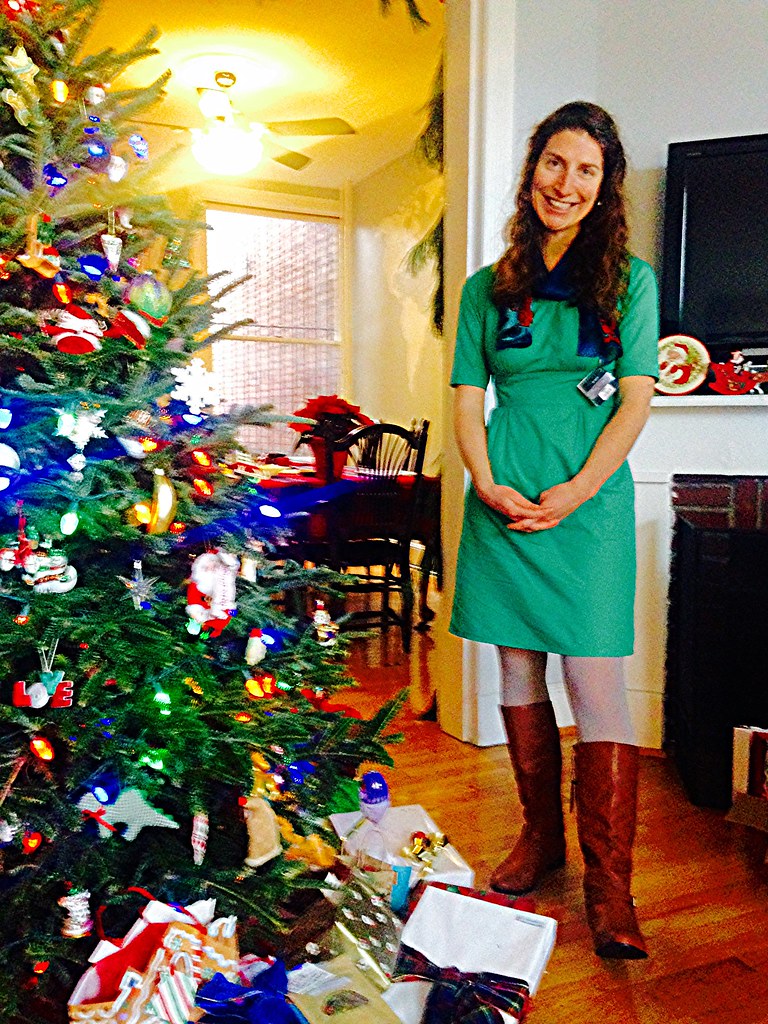 Here's my sister's Christmas present from last year—her first in her (their) new home in Washington, D.C. It's a Dahlia from Colette Patterns, suitable for work (even if the cotton is prone to wrinkling). Fitting color choice for an environmental policy analyst, don't you think?
 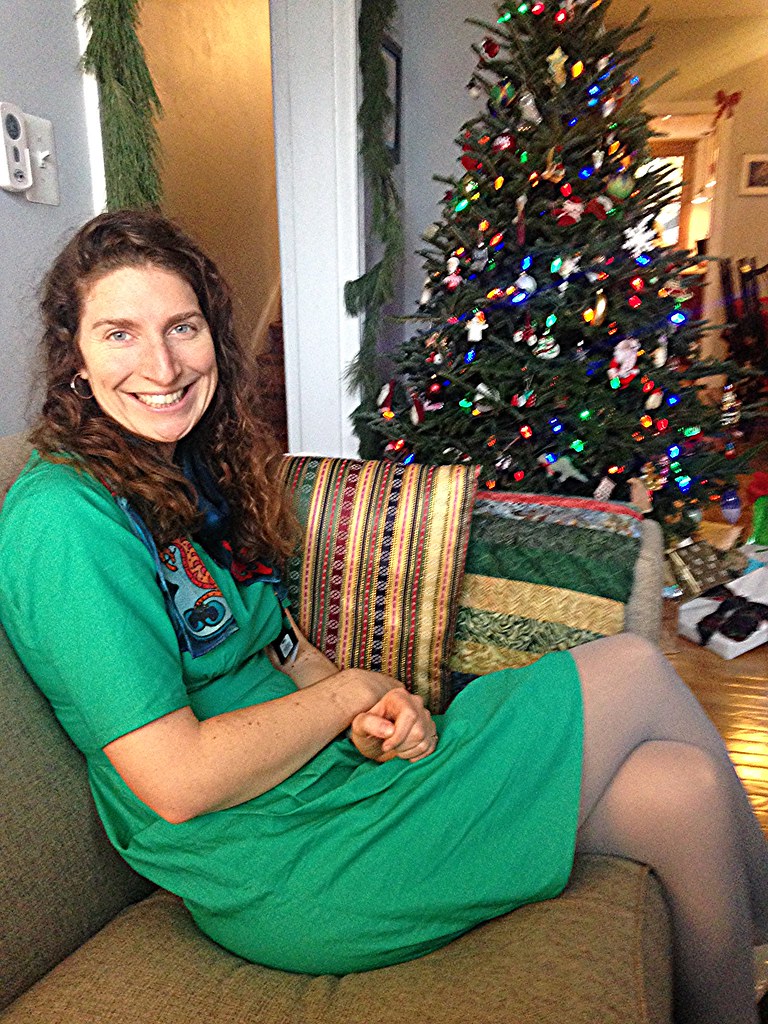 The fabric is a cotton lawn from Robert Kaufman, which I purchased soon before Grey's Fabric moved house and turned into Mercer's. (It's been almost a year and I still haven't been to the new store, partly because I don't want to be tempted when I still have so much of a stash to sew through—I bought more during the moving sale!)
 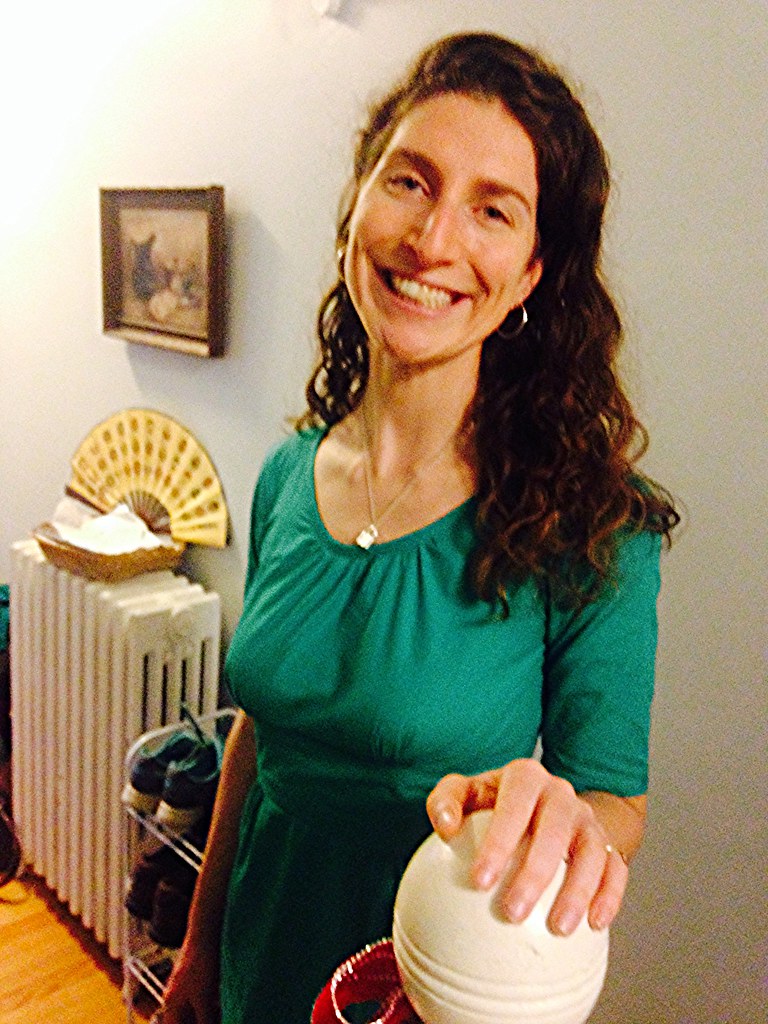 Dahlia is not my favorite Colette pattern, to be honest; this was the first time I've had to second-guess anything. I suppose I'm skilled enough now that I can anticipate when and why alterations will be necessary, and in this case I do believe it's a matter of a less-than-flawless design rather than making alterations to suit one's own form.
  If you sew this pattern, you will most likely want to make the following modifications:
 1. Add shoulder darts at the top of the raglan sleeves so the yoke conforms to the shape of the neck and shoulders. (I followed Lime Scented's notes and made mine 3" wide and 3.5" long. If you need assistance, here's a tutorial.) If you don't add shoulder darts—which ought to have been written into the pattern to begin with—you're going to have a gappy-backed potato sack effect going on up top despite the bodice gather. In the course of my Google research I found someone explaining that it's just very difficult to tailor raglan styles using woven fabric, so that's why you don't see them too often in sewing patterns.2. Take in the sleeves by at least one inch. As designed they're fairly baggy-looking, which detracts from the lovely feminine silhouette.I'm very pleased with how this dress turned out. I was nervous about the fit—I tried it on as I was sewing (since I don't yet own a dress form) and couldn't get the zipper up, but my sister's waist is much narrower than mine is, so it fit her perfectly. Whew!
 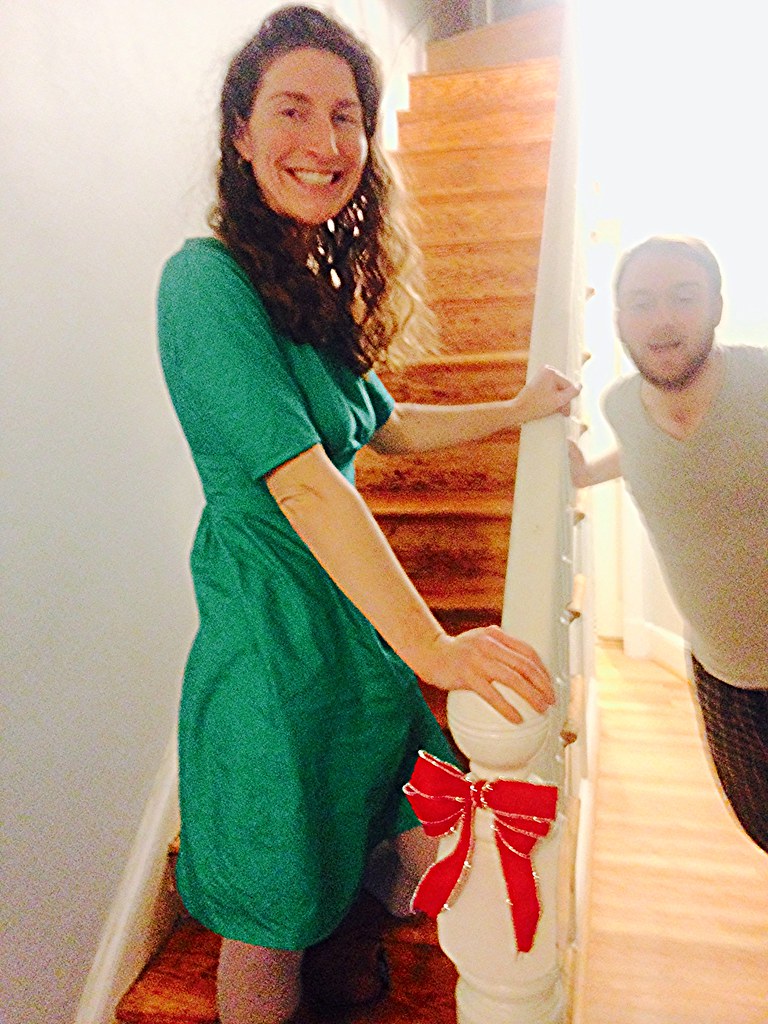 Kate and Elliot are getting married in February. I'm sewing my dress, which will give me another fun project to blog about.
Life Without Envy, and Marvin the Time-Traveling Armchair
Happy New Year, everybody! May 2016 be your awesomest year yet.
Here's why I'm feeling pretty darn excited about 2016, myself:
Pub date is much sooner than I expected (and when does that ever happen?!): September 27th, 2016! I'm working on a proper book page now.
I don't have much to say (yet) apart from the cover reveal, but it did occur to me after posting my latest decluttering update that there's one corner of my room which is quite perfect: I found this armchair in an antiques shop in Providence last New Year's Eve, and fell instantly in love. His name is Marvin and he has the ability to zip anyone who sits in him through the fourth dimension to the destination of their choice.
Organizationally speaking, it's the DIY project bag rack (sewing instructions here) that is noteworthy. I'm also planning to recover that 1930s folding chair to Marvin's right with the vintage-inspired upholstery fabric you see folded on top. (I'm so sad Grey's Fabric is leaving Boston!!)
Starry Darling Ranges
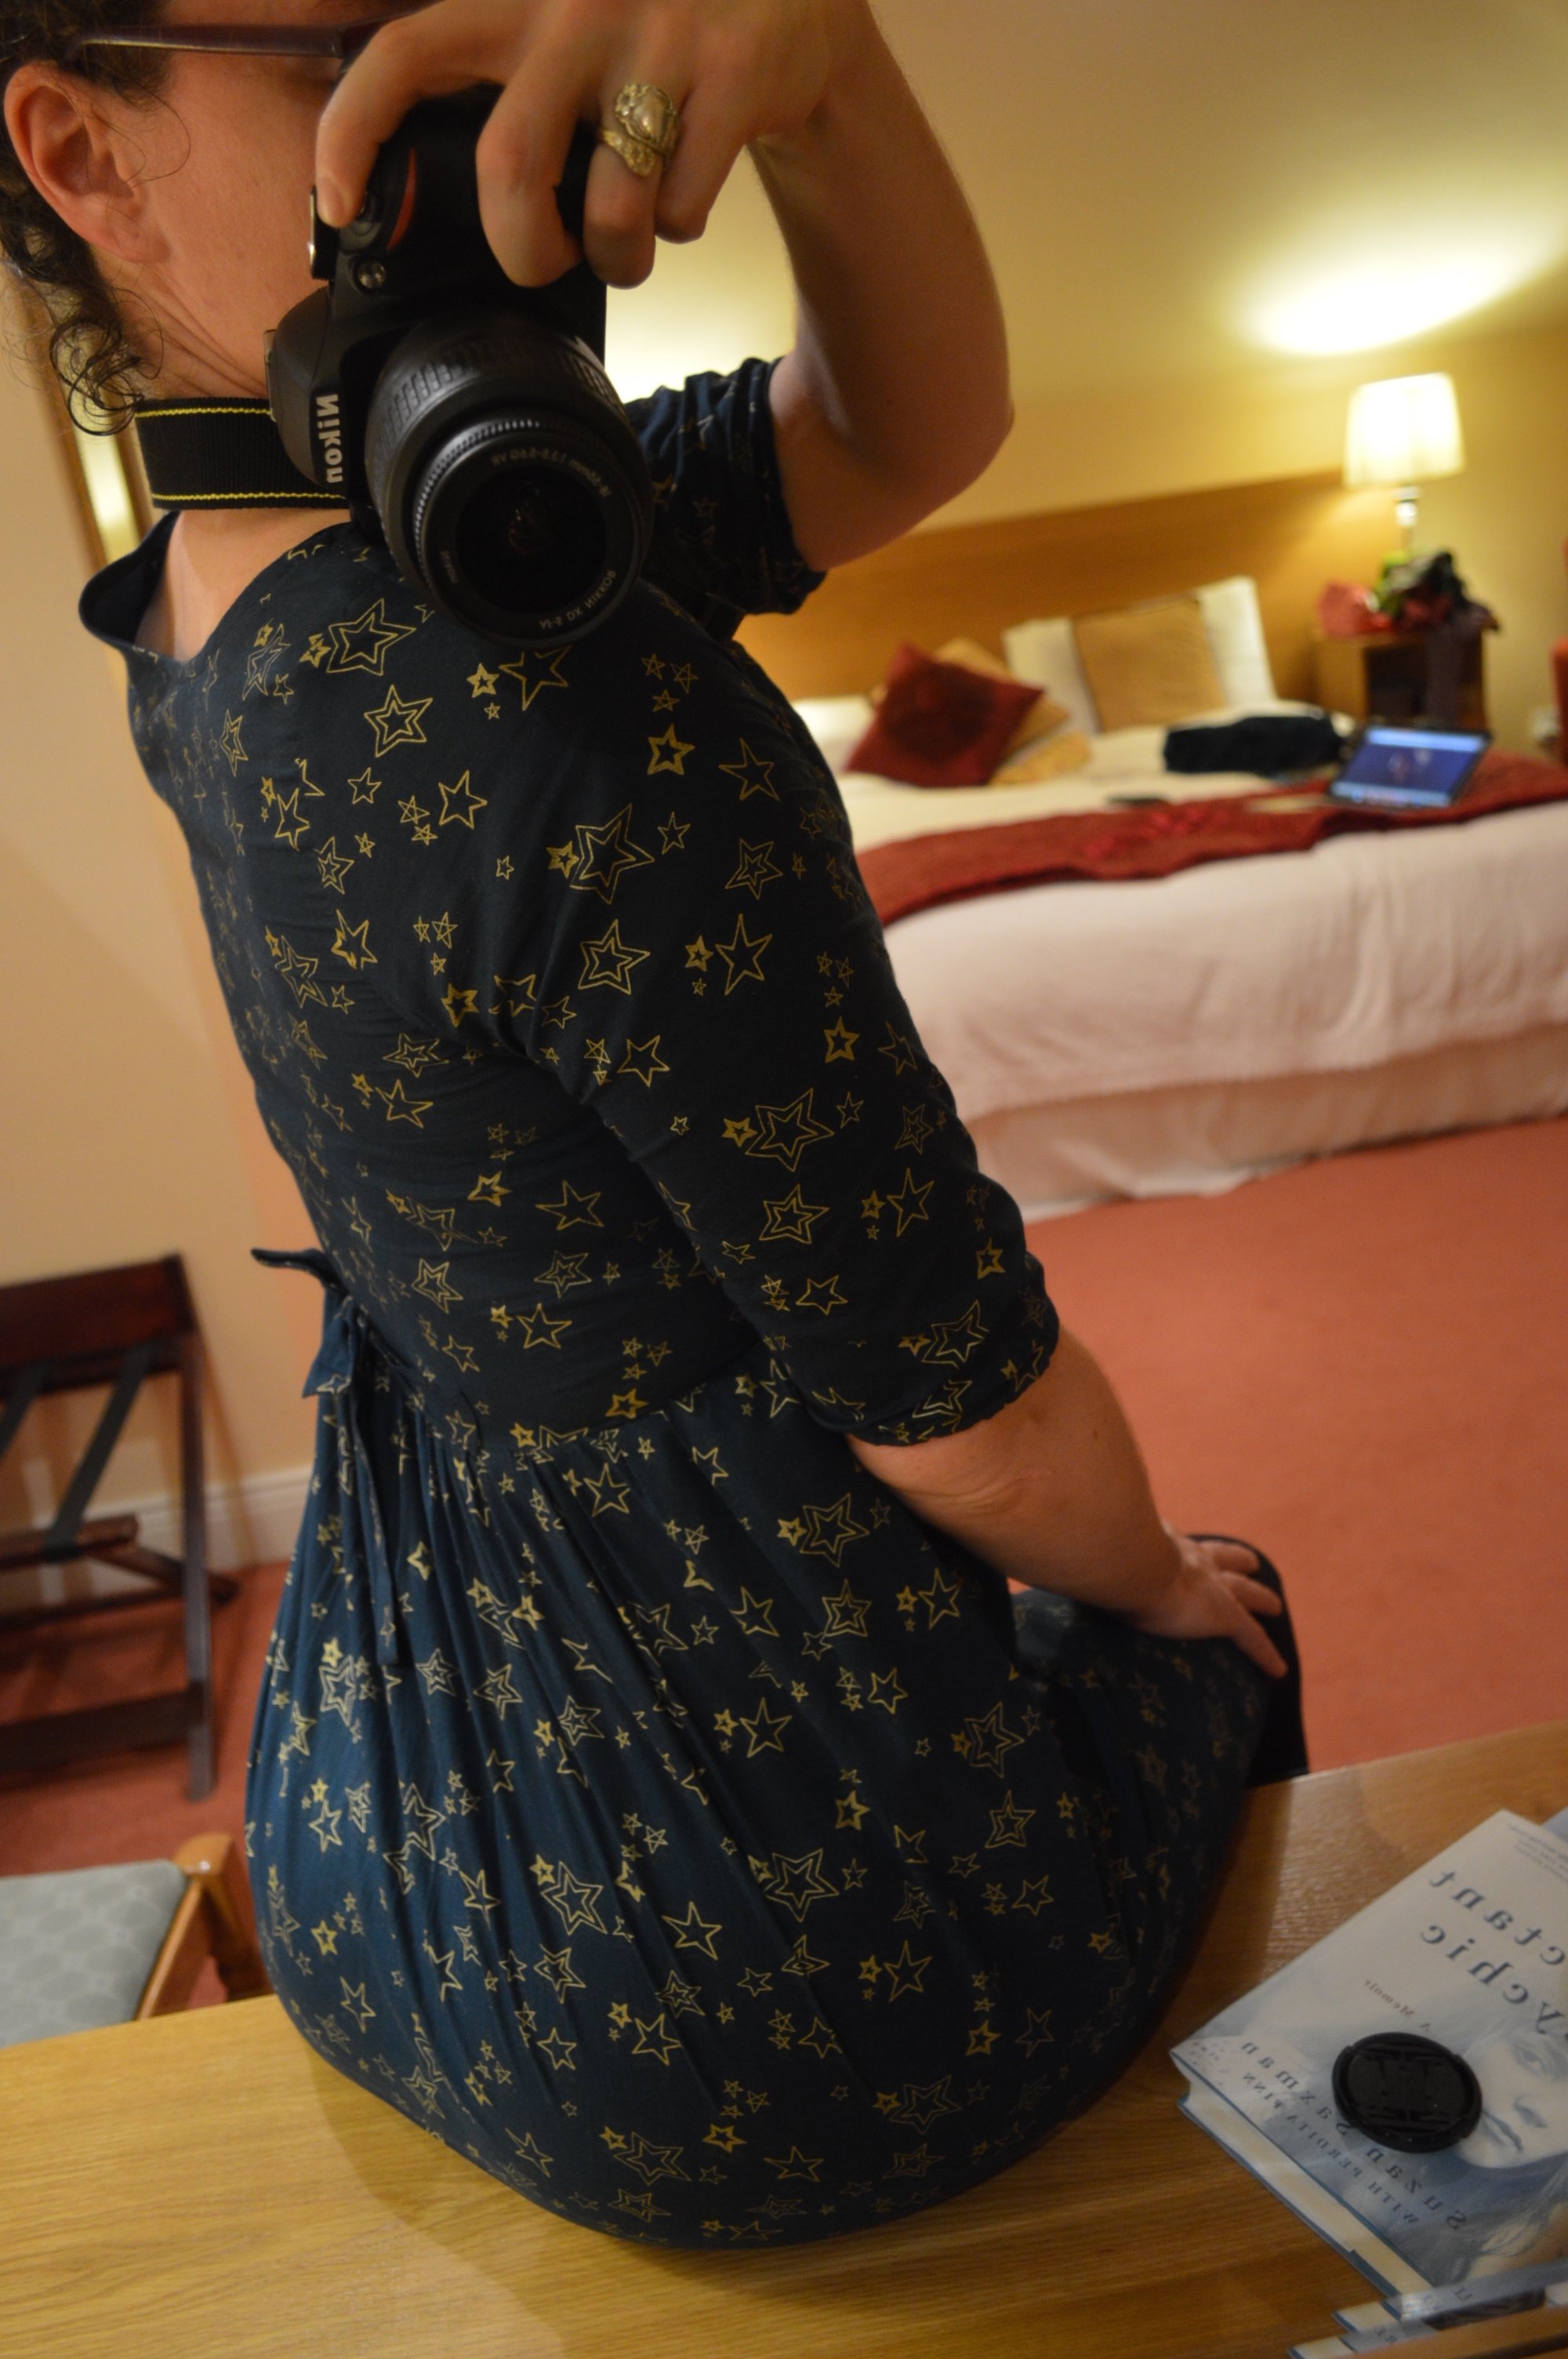
I have been in love with Megan Nielsen's Darling Ranges dress pattern since the day it came out: it's got sweet feminine touches like a moderately-revealing neckline and gathered sleeves, and like all the indie sewing patterns I've used so far, this one was a breeze to follow... ...once I found the perfect fabric. This lovely starry cotton lawn is from Grey's, as usual. [EDIT: Out of business, alas!]
The neckline is finished with bias tape, so I used some of my vintage stash. (What do you think—1950s??)
My goal was to finish this dress in time for the Boston Book Festival, and I got plenty of compliments that evening. Having too much fun to remember to take any photos though. And at my friend Jason's night-before-Halloween costumes-optional party I told everyone I had dressed up—as a constellation.
Then I packed the dress to wear on my birthday in Dingle. (Photos by Seanan.)
This is my new favorite dress out of everything I've sewn so far. I feel really pretty in it (even if I do look a teensy bit preggo in this shot.)
It was a lovely birthday. We ended the night with trad at John Benny's and my pal Jedediah Berry's The Family Arcana (which is brilliant, by the way).
City Mouse dress
When they reached the mansion in which the Town Mouse lived, they found on the table in the dining room the leavings of a very fine banquet. There were sweetmeats and jellies, pastries, delicious cheeses, indeed, the most tempting foods that a Mouse can imagine. But just as the Country Mouse was about to nibble a dainty bit of pastry, she heard a Cat mew loudly and scratch at the door...
"The Town Mouse and the Country Mouse," from Aesop's Fables
* * *
Who doesn't love a fifties-style shirtdress? I sure do.  I stopped by Grey's Fabric at the beginning of the summer to take advantage of a 15% off sale, and spotted this snazzy, not-too-girly floral (Central Park Fog from the Gramercy Collection by Leah Duncan for Art Gallery Fabrics—hence the title of this post. Which means, of course, that there must also be a "country mouse" dress at some point.)
 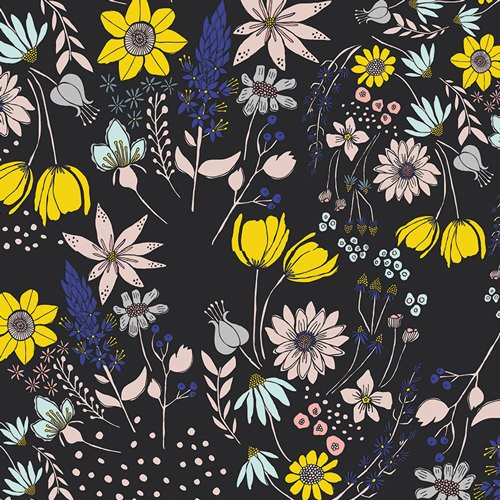 There was only a yard and a quarter left on the bolt, and while I purchased it thinking I'd make a blouse, this fabric knew what it wanted to be: a Hawthorn dress. So I ordered a couple more yards from Llama Fabrics on Etsy.
@themackenzilee I banged this much out in a day. Version #2 will go even faster! @ColettePatterns #sewing pic.twitter.com/CiiJz2frQf
— Camille DeAngelis (@cometparty) July 29, 2015
I am a big fan of Colette Patterns, as you know, although I must admit that I have many more patterns stashed than I've actually gotten around to sewing yet (like Zinnia and Parfait and Sencha and Ginger; I also need to blog the Sorbetto I made for my sister last Christmas). And this pattern was an absolute dream—I couldn't believe how easily it came together. (Sidebar: I rarely do trial garments/fittings, which are called muslins. You know I fly by the seat of my pants, or in this case, skirt. So I really lucked out that Colette's size 6 fit so perfectly.)  I'd been putting off learning how to make buttonholes for ages, but once I resolved to learn (and did, thanks to this awesome Youtube tutorial; so straightforward, right??) it was smooth sewing. UNTIL. I mentioned in my last sewing post that I had created a real disaster for myself. What happened, you ask? While opening the buttonholes I applied a tad too much pressure on the seam ripper.
  I KNOW, RIGHT? *wails, tears at hair, gnashes teeth*But I held it together. I can fix this, I said to myself, because there was no way I was going to take this dress apart and redo the right front bodice. I figured the busy pattern would more or less camouflage any mends, and I do believe I was right:
  (I Fray-checked the "wound" immediately and zig-zagged it shut a few days later with some hand stitching on top, matching thread to pattern as closely as possible.)Mackenzi and I are sewing her launch dress (Facebook RSVP here, btw—Friday, September 25th at Porter Square Books at 7pm, be there OR ELSE) using the same pattern, and when she tried on this first version for sizing purposes she didn't even notice the repair job.
  Quick note on circle skirt anatomy here: because it flares, there is too much fabric to be hemmed as usual, and if you try you'll end up with wrinkles at regular intervals. I was originally going to follow the instructions for the 1 1/2" hand-stitched hem, but after a couple of rounds of pressing I did not have confidence that the hem was going to lay flat. So, as other Hawthorn sewists have done, I followed Gertie's two-part tutorial for a narrow hem, eliminating the need to ease in the fullness. If you are making this dress, you also might want to refer to the Hawthorn sewalong page for tips on adjustments and suchlike.
 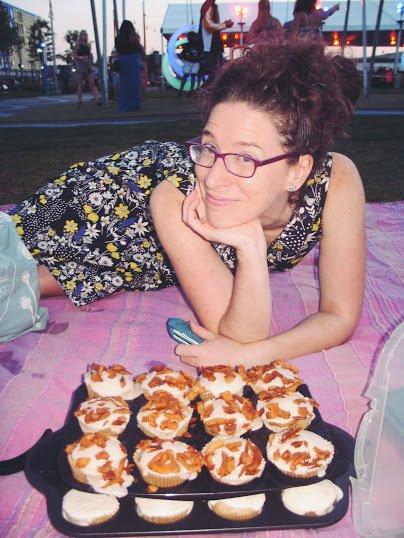 Despite the seam ripper mishap, I really love how this dress came out!
Sewn on the Fourth of July
All the way back at my first Squam in 2011, Cal Patch wore the most adorable blouse she'd sewn herself. (She's got pics on the old version of her blog.) Cal gave me the pattern number—Simplicity 3964, Built by Wendy—and I'd been looking for the perfect fabric to pair it with for a dress version ever since.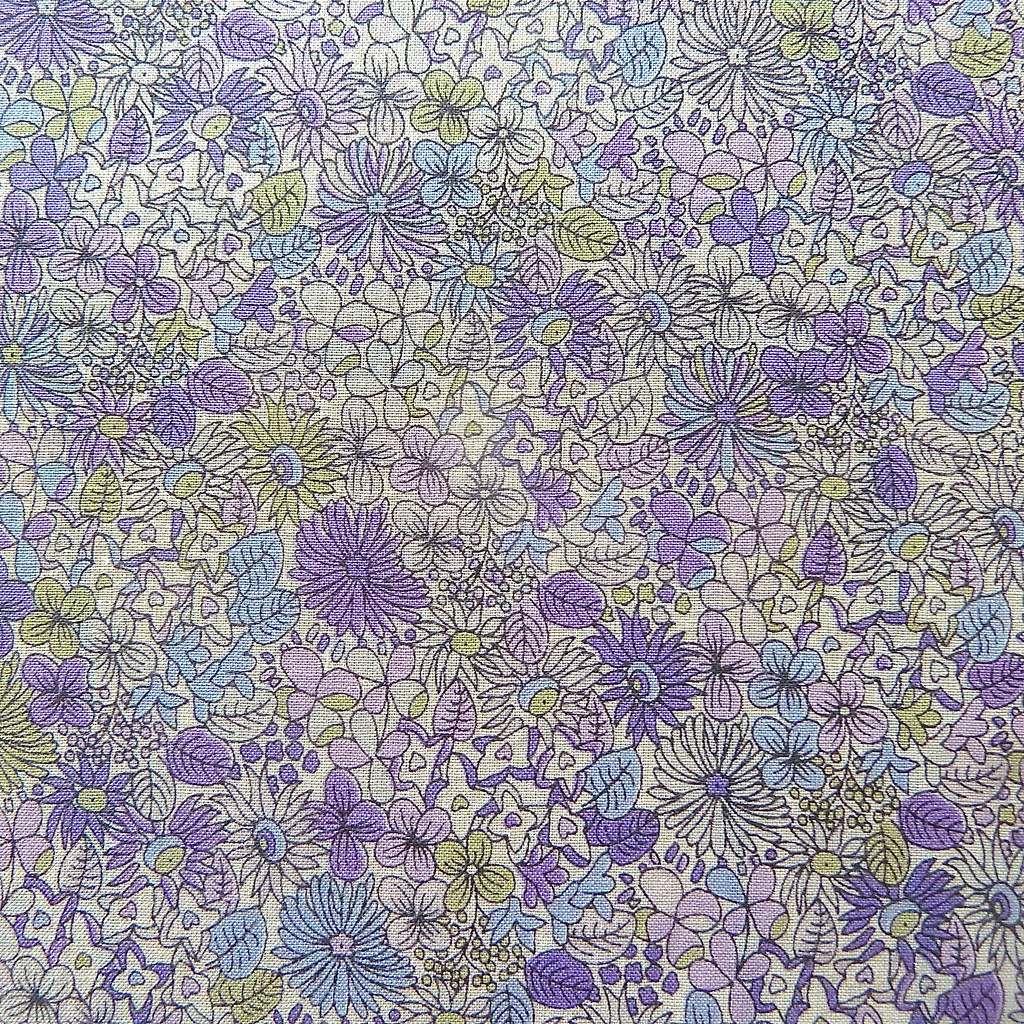 Then I found this pretty Japanese lawn at Mood Fabrics ($12/yard) earlier this year. This dress = finally happening!
 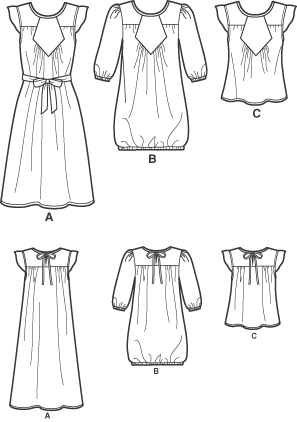 The inset panel was a real pain in the tush, but like the V on the Chataigne shorts, it's totally worth having to rip and resew a few times to get it right.
 A few more notes:I sewed French seams on the sides, which (along with the front and back yoke/bodice facings) means there isn't a fray-able seam allowance anywhere inside this garment (yay!)I cut a size 14 (which seems big, I know—I'm a 6 or 8 in the indie patterns, 8 or 10 ready to wear), which was perfect apart from a bit of floopiness under the arms. I ripped out the top few inches of the French seams and took in the sides (which meant I also had to shorten the armhole binding).
 I got the belt custom made from a wonderful Etsy shop called Good Mood Moon that does vegan leather accessories. It really makes the outfit—much more interesting than the self-made fabric tie the pattern suggests. I also skipped the wing-like sleeve thingies. I have pretty square shoulders, so I was afraid they might look a little ridiculous. I like this dress sleeveless.
 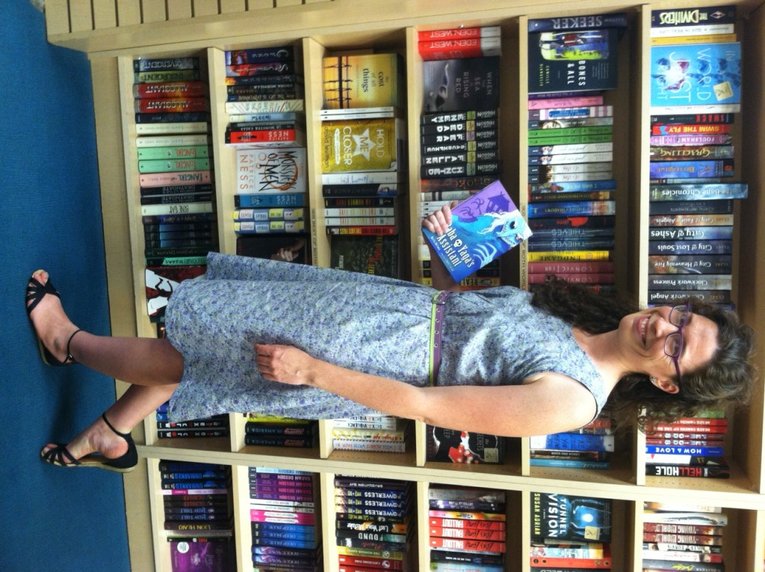 I'm still not sure about the below-the-knee length of the hem—I need to wear an (albeit tiny) heel to keep it from feeling dowdy, but with my favorite sandals on it's a pleasingly old fashioned length. Funny how fine that line can be sometimes.And yes, I sewed this dress (everything but the hem!) on Independence Day. All the fun went out of the 4th when I found out how horrible fireworks are for the environment, so I figured I'd be antisocial and crank out something lovely to wear.Next sewing post: smooth sailing before a HORRIBLE DISASTER! (Fortunately I am resourceful and can fix anything I almost ruin...)
Chataigne shorts
 Last summer I was trying on shorts off the Anthropologie sale rack, and when I checked the labels it seemed like every single pair was made in China. Then of course came the inevitable declaration of seamstresses the world over from time immemorial: I can make these!So here's a (typically belated) two-in-one sewing post: the Chataigne shorts from Deer and Doe, two versions from the same linen-rayon blend recommended by Ashley at Grey's Fabric in SoWa. (I LOVE Grey's. Love love love. Superlative customer service; gorgeous selection of fabrics, patterns, notions, and random gifty things; they sell Taza at the register!!; and now I have a punched-up rewards card giving me $10 off my next purchase.)
 I made a pear-green pair last August; then, wanting something more practical, I went back to Grey's this spring and picked up some more of the linen-rayon blend in a medium gray.I don't have much in the way of notes or mods on this pattern, as the instructions are delightfully clear (unlike commercial sewing patterns, which is why indie designers like Deer and Doe, Colette, Victory, et al. are doing so well). The attention to detail is terrific without getting too fiddly apart from the V-shaped waistband, which is totally worth ripping and re-sewing a few times to get just right. (Also, a sewing PSA: diligent rounds of pressing are crucial to a successful finished garment!) I definitely want to make more Deer and Doe patterns (like this one and this one and maybe this one).
  I haven't done this yet, but my only suggestion (if you are using a linen or linen blend similar to this one) is to apply Fray-check along the seams to keep them from fraying too much over time. Also, I always hand wash these shorts. (I wash every garment I make by hand.)The green pair were a really good confidence-booster for me. I started my garment-a-month sewing challenge feeling way more competent than I had before!
 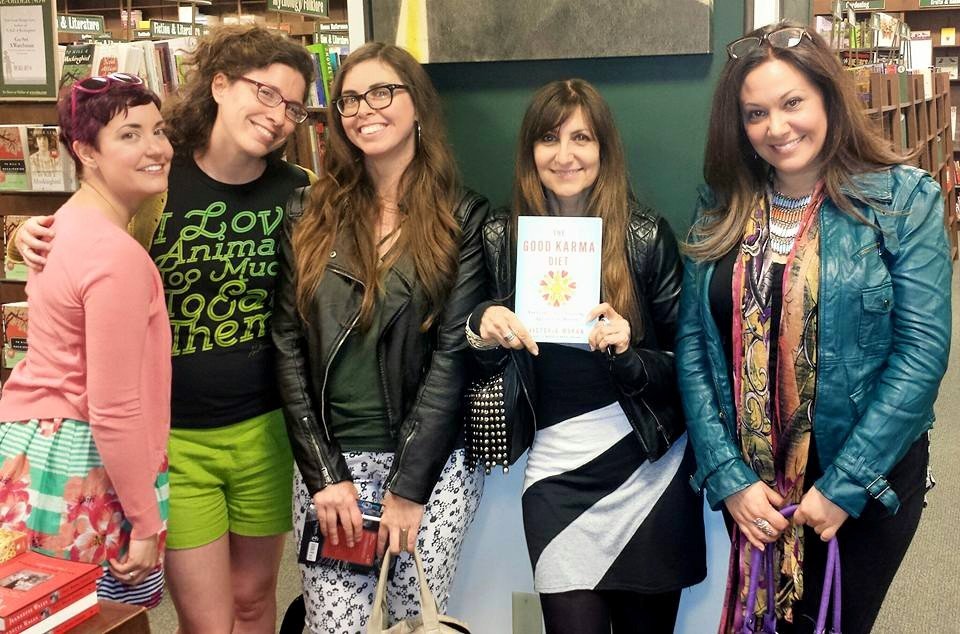 When my "I love animals too much to eat them" t-shirt arrived in the mail from Herbivore I squee'd at how perfectly the lettering matches my green shorts. One of my new favorite outfits for sure. (They're really wrinkly in that photo, but in fairness to the linen-rayon blend, I had been sitting on the bus for four hours!)
 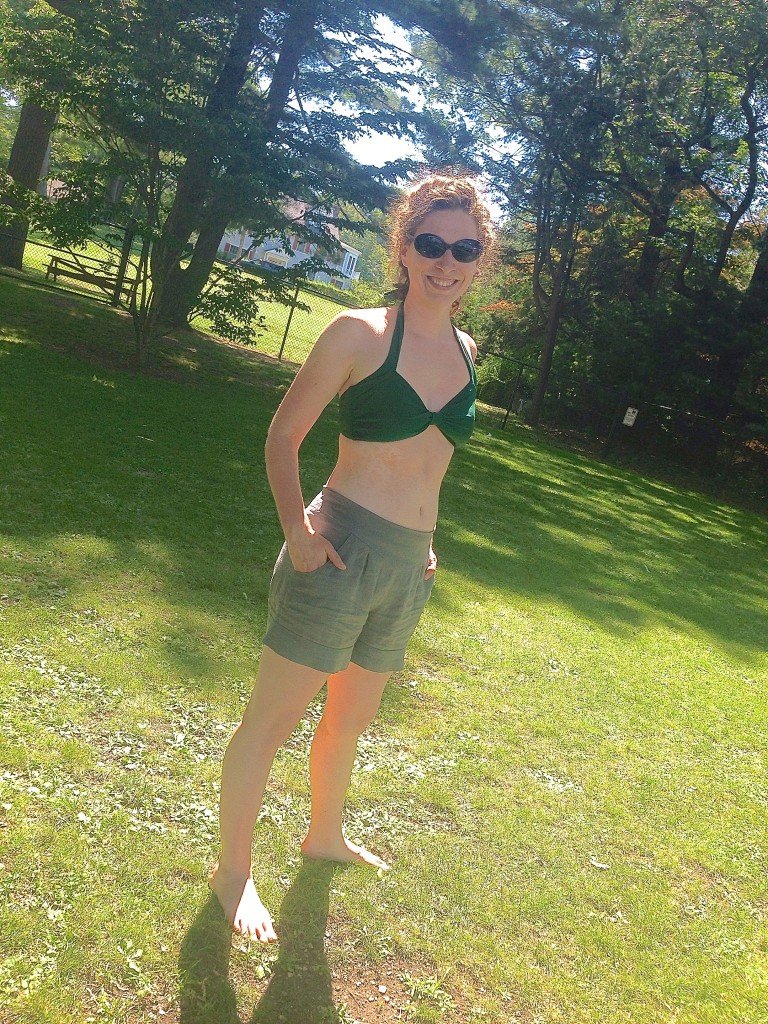 I have another new dress to show you next!
Namirembe dress
The garment-a-month challenge I set for myself in January (inspired by Annika) is working out pretty well even though I am two months behind. I would never have finished five garments in six and a half months without this self-imposed motivation!  And of course, the more I make the more compliments I get, which gets me even more psyched to start on the next project.
  On our Uganda/Rwanda trip back in August 2013, Kate and Elliot and I spent a good bit of time at a craft market in Kampala shopping for fabric. They'd just bought their house and were looking for an eye-catching print to hang on the wall, and I was hoping to find something fun but not too "busy" for a dress project. As soon as I saw this subtle and vaguely botanical print (are they berries? squash? nuts? acorns?) I knew three yards of it were coming home with me. Kate convinced the shopkeeper to cut a six-yard swathe in half (they wanted me to buy the whole thing, but I knew the three extra yards would only sit in my stash for years)—she is so good at bargaining, while I'm still working on doing it despite my discomfort.
  I think of this sewing project as the Namirembe dress because "Namirembe" comes from the Luganda word for "peace," and it's a popular name for girls. The story goes that the first Namirembe was a great benefactress in the Christian community.
  Apart from the fabric origin, I don't have much in the way of notes on this project; it's the same mash-up as the unicorn dress, Mary Adams + Simplicity 2591, but this time I included the pockets from the Simplicity pattern. The practicality is so worth the extra sewing!
 As you can tell by the photos on my news page, this has been my go-to gussied-up-authoress outfit for the past month and change (I finished it just before my NYC event on May 6th). It is flattering and funky and I get appreciative looks and gentlemanly compliments every time I wear it. My favorite comment came from my friend Jaclyn's roommate, who asked if I'd ever lived in Africa while I lounged in their hammock at a recent tea party. She'd lived in Kampala for awhile, so she recognized the fabric.
  I lined the bodice with black batiste left over from the cathedral dress, but I haven't lined the skirt yet. I really need to do that if I want to be able to wear this dress through the fall and winter. (Otherwise the fabric clings to my stockings. Slippy acetate/rayon lining = free movement.)I have to confess that when I'm almost finished with a sewing project, I get lazy. I haven't actually sewn in the bodice linings of either this dress or my unicorn dress, just basted them in place so I could wear each of them ASAP. I also had to re-sew this zipper. I showed up at Kate G's office the day of the McNally Jackson event and heard the ominous sound of snapping threads as I took off my jacket. But literary agents help you out with all kinds of things, not just book deals, haha—Kate put in a safety pin and I was good to go.
  More sewing projects to blog about soon!
A Unicorn and His Lady
You may recall that I have a bit of a thing for Spoonflower. Check out my latest obsession: I love that this fabric is inspired by the Lady and the Unicorn tapestries at the Musée de Cluny in Paris (which I visited on my only trip to France in November 2003). The design ("A Unicorn and His Lady" by Nicole Buxton—I just noticed she lives in Boston!!!) is a few years old, but I only recently ordered my yardage (cotton poplin; the voile is sadly no longer available)—I'd been plotting and planning this entire time, looking for the perfect pattern. Because who doesn't want a dress with unicorns on it?
I joked that I was only making it to make Mackenzi (who is usually wearing a ridiculously adorable dress) jealous, only I wasn't kidding, really. I am pretty sure it worked. Between my garment-a-month challenge and wanting a new handmade outfit for my book launch, I knew this dress was going to happen even if it came down to the wire (and needless to say, it almost did).
The seven-piece bodice is from The Party Dress Book by Mary Adams (one of my Harvard Books warehouse sale finds), and the skirt is adapted from Simplicity 2591 (which I had on hand for another dress project on hold for over a year now). When I was in New York visiting Victoria I stopped by Mood Fabrics to pick up some pale gray rayon for the skirt lining (the bodice is self lined, meaning I used the same fabric as on the outside of the dress; I didn't want to be doing that much piecing with such slippery fabric. I'll pick up a can of fabric stiffener spray at some point.)
Considering that I took a bit of a seat-of-my-pants approach (so what else is new?? I had to take in the bodice because, well, my bosom is on the modest side, but I left it to trial and error), I was amazed at how smoothly this project proceeded from start to finish. As you're sewing (or knitting) you dream of the moment when you slip your new garment over your head, look at yourself in the mirror, and marvel at how awesome you look. This, thankfully, was one of those times.
I've been doing a lot of blog Q&As, and one of the questions I answered today was about what I wanted to be when I grew up. For a long time, kindergarten intermittently through high school, I wanted to be a fashion designer; then I realized that I didn't want to design clothing for anyone else, I just wanted to express my personality through my own wardrobe. I'm choosing colors, textures and patterns that make me really happy to wear (and to be seen in, to a certain extent), and this is infinitely more satisfying than choosing a garment off the rack. I got loads of compliments at the launch—this dress made me feel even more confident.
(I have to confess something. When I wore this dress the night of the launch, various unsubtle jokes were made as to the lady's carnal knowledge of the unicorn. I LOVE MY FRIENDS.)
I'll blog about my new blue bolero in the next week or two!
Sister of the Sibylline
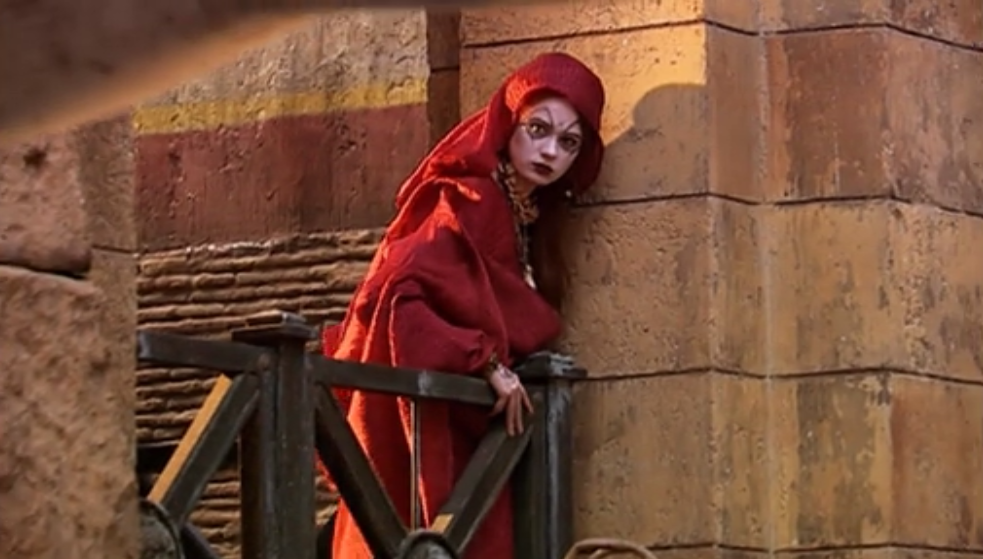
The Doctor Who historical episodes are generally my favorites—"Vincent and the Doctor" made me bawl both times I saw it, and I watched the opening scenes of "The Shakespeare Code" (in which a trio of witches devour a hapless young man) as I was beginning to write Petty Magic. And when I saw "The Fires of Pompeii," I knew I needed to be a Sister of the Sibylline for Halloween. The Sisters of the Sibylline are a nefarious cadre of soothsayers with eyes painted on their hands, and when they hold their hands to their (actual) eyes, they can communicate with each other across distances.
I guess I could have gone all out with the jewelry and red dress, but I like that the costume feels more or less complete with just a red cape and some black-and-white face paint.
I sewed the cape out of some cheap polyester (from Sew Low Fabrics in East Cambridge) using a free and easy pattern from FleeceFun.com. Intended for fleece, obviously, but it worked for my purposes just fine. I lopped off the pointy cape end, and finished it in a morning. Got so lazy that I didn't add any ribbon ties though—safety pins work just as well, haha!
The plot of this episode is somewhat convoluted, but if you forget about the aliens and just focus on the human interest element, it's quite poignant. Donna and the Doctor have gotten to know a particular middle-class Pompeii family, and when the volcano erupts and everyone is running wild with panic, Donna is stricken to find them huddled together and preparing to die. The Doctor is about to leave, and Donna begs him: "Not the whole town. Just save someone."And he does.
I'm going to a concert at the Armory tonight. We'll see if any sci-fi nerds actually recognize me.
As for vegan candy, I treated myself to this tasty mint chocolate cookie:
Here's a bonus for you: Elliot in drag!!!!!
They're characters from Game of Thrones. (I'm sure I'm the only person in America who couldn't have guessed that.)
Happy Halloween, everyone!
Making in Tandem
Making your own hours is one of the best things about writing for a living. I can work on the novel 'til 1AM, and spend the whole next day crafting with a dear friend.If you haven't read Amy Lou's Where We Make entry yet—do! Amy's space is incredibly inspiring—soaking up all the happy creative juju is so good for me. Oh, and she has a brand-new website too, which captures her energy as perfectly as her guest post.I got some knitting done (though no sewing—next time!) It is a lovely friend indeed who takes the time to steam some almond milk for your coffee. Still working on my Pomegranate (by fellow Squammie Bonnie Sennott). This is the most complex lace I've ever done, and I often get comments as I'm knitting on the T. Really enjoying it.


Faux Vintage
I had so many crafty plans for the summer, but in the end I only finished one project. I fell in love with this cotton lawn as soon as I saw it on the Mood Fabrics website. It felt so 1940s, and perfect for a summer blouse.
 I actually finished the sewing back in June, and sewed on the buttons at a Make Out session in July (if I remember rightly). The pattern is Colette's Violet blouse.
 Even though the blouse came out well and the whole process went quite smoothly, I'm reluctant to call this a successful F.O. I fell in love with the print without stopping to consider if it would actually flatter me, and I'm not sure that it does. I should have gone with a solid color or at least a smaller print. Secondly, it's too short! The next time I make this pattern I'll add two or three inches to the body length.
 I also don't have much to match it with. I did get these awesome high-waisted denim capris from Bettie Page back in July (the salesgirl said they're actually cut from a 1950s pattern), but it would be great to have at least one pair of shorts and one skirt to match as well. Colette has the perfect patterns, of course (and I already have Ginger in my stash). Making this blouse has reminded me why dresses are easier; you put on a dress and you're done. No matching!
 Yes, I wimped out on the buttonholes by doing loops instead.
  The buttons were left over from this summer 2012 knitting project, a ginger-cat for my friend Alicia's daughter. (Those embroidery classes paid off! I never would have done such a neat job before Jessica and Rebecca.)
  My first collar facing!As for the pattern itself, I'll echo everyone else who's made it and say size down. I made it in a size 6—I usually wear an 8 or 10—and it's still fairly roomy. This was my first Colette project, and the directions are SO clear and easy to follow, especially compared to the way traditional commercial patterns are written and laid out.
 After taking these photos I went into town for yoga and dinner, and had to rethink all the things I don't like about this blouse after I received three compliments from strangers of both sexes within literally five minutes (one of whom ducked into the Citizens Bank ATM lobby where I was getting cash especially to tell me how pretty it is!) I think the Donna-Reedishness of it really appeals to people. Maybe I remind them of black-and-white photos of their twentysomething grandmothers. For example:
 (A Green Goddess bowl and a Loco-Coco smoothie at Life Alive, delivered by a girl who said "I love your shirt, it's really pretty." The lighting makes the greens look less appetizing than they are. Thoroughly delicious, especially with that ginger nama shoyu sauce!)
Handmade Summer
I'm even more excited about making my own clothing since I went vegan. Yes, phasing out wool has been a bit of a challenge, but challenges are FUN! Here's some yarn and fabric I have plans for this summer: Shibui Linen for a Xia blouse (Ravelry link). Treated myself at Gather Here after my book deal!
 Cute vintage-y cotton lawn from Mood Fabrics, destined to become a Violet blouse. (It's almost finished!)
Making button loops using this tutorial from @colettepatterns: http://t.co/w603zGNBTp #sewing (So excited for my new blouse!)-- Camille DeAngelis (@PettyMagic) June 13, 2013

 Vintage rayon from this Etsy shop and Italian shirting from Mood Fabrics. Both for dresses, one of which will have some pretty nifty bias action.
 I had a plan for this Bamboo laceweight from Webs, but oftentimes when you order online what comes in the mail isn't quite what you expected. I think I'll make one of these instead. (Puffed sleeves! I can't resist!)
 Ailbhe gave me these adorable buttons a few years ago. They belong on a vintage jumper, just not sure yet which pattern.I also finished a Miette cardigan a few weeks ago, which I'll blog about soon. Still need to take some photos!
Tweedy iPad case
 My mom got an iPad for Christmas, and I sewed her a case for it using a pattern out of Maya Donenfeld's Reinvention: Sewing with Rescued Materials. Maya is a regular teacher at Squam, and I've been wanting to take her botanical screen-printing class since I first started attending the retreat in 2011. One of these years!
 The outer fabric is Donegal tweed from John Molloy, which I purchased on a visit to Donegal town all the way back in January 2001 (and I salvaged it from a skirt I made almost as long ago but never wore). The fabric for the lining and strap is a plain quilting cotton. (I used fusible interfacing on the strap for durability's sake.) I chose maroon (out of my stash) to match the nubs in the tweed. Even the batting was left over from a quilting project, so I like to think I was keeping with the spirit of the book by not buying anything new. (And you know I'd never buy tweed now, being vegan, although it IS beautiful!)
 Maya's book was my mother's Christmas gift to me, fittingly enough. It's a gorgeous book, and I'm sure I'll be making many more projects out of it.
Cathedral Dress
One of the many neat things about Squam is that you get to drool over (and be inspired by) all the gorgeous things people have knit and sewn for themselves. This dress was on the agenda for last year, but I only managed to finish the shell. This year my dear friend Anne took these photos on Saturday afternoon.
The fabric is a cotton lawn from Spoonflower in an amazing print inspired by medieval rosette windows, a Christmas gift from my mom and sister. The designer's name is Samarra Khaja, and her website is here. I've always had a thing for stained glass, but up 'til now I could only dream of wearing it!
The pattern is Butterick 5490, which I first spotted on Green Apples. I'd originally envisioned something really simple so as not to cut up the rosettes, but then every pattern I looked at felt a bit too plain, even considering the busyness of the pattern. Notice the bold fabric used in the sample garment (view A). Might as well make a statement, right?
The lining is a fine cotton batiste from Mood Fabrics. (Yes, this was a really expensive project. So, so worth it.)
Prewashing.
Part of what kept this project in my UFO pile was my reluctance to attempt an invisible zipper. Thanks to this Colette tutorial it feels doable now--except when it came time to use the invisible zipper foot, the machine seized up and the needle wouldn't move! (I still need to figure out what I did wrong there.) Shuddering at a vision of spending the next two hours raging against my New Home, I decided to install the zipper by hand. Yes, it took ages, but it was stress free, even when I tried it on and found I needed to pull out the stitching and take it in a bit; plus, I got to hand-sew my way through Catching Fire on audiobook.
The green cardigan is from a pattern by Alexis Winslow, and I will blog about it soon. (Ravelry project link here.)
I'm really happy with this dress, even though the pleats at the back might make me look like I'm wearing a bustle, and a funky wrinkle keeps showing on the bodice (which I can probably fix). This is the first 'proper' dress I've ever really sewn—I'm not really counting sundresses #1 and #2, since they were super easy and required no daunting new techniques. The pattern calls for a lined bodice only, but the cotton lawn is slightly sheer, so I needed to add a skirt lining as well. I just traced the skirt from Heather Ross's sundress pattern and gathered it using another great Colette how-to (I got the book for Christmas this past year—the format, clear photography, and projects are all terrific.) This lining no doubt contributes to the bustle effect, but I've never been concerned about the size of my tookus, and I'm not about to start.
I have to finish Kelly's quilt before I do any more sewing for myself, but after that I'm excited to try some Colette patterns I've been stashing over the last year or two...
Turning Five
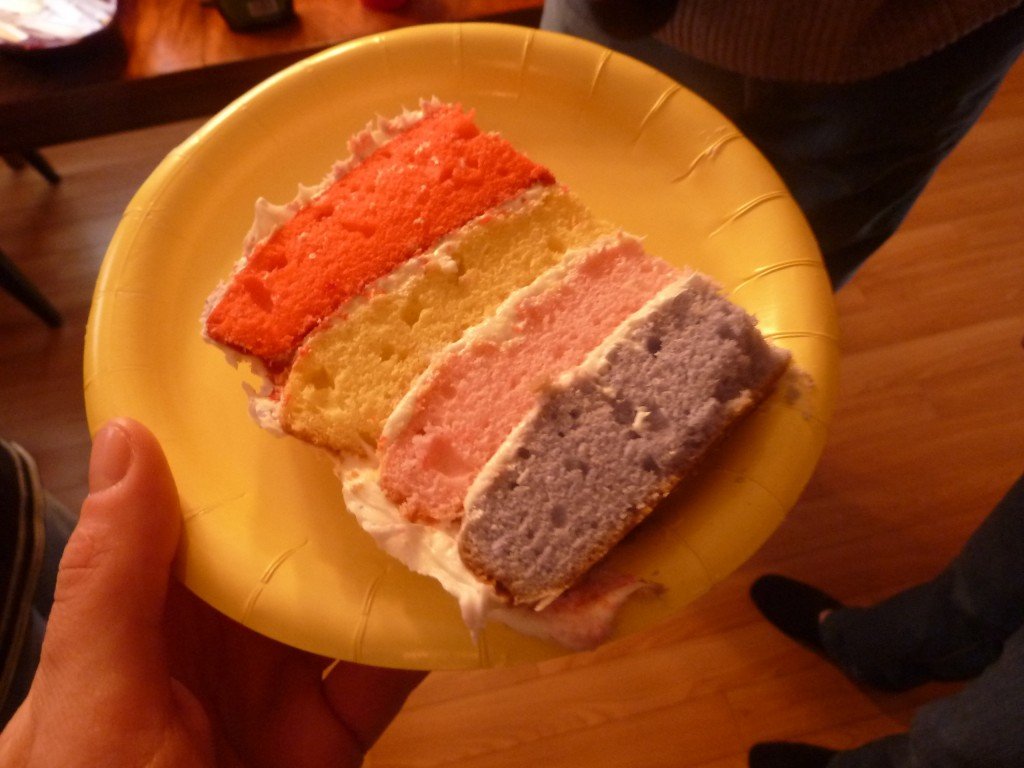
Last month my niece turned five. I promised to bake her a rainbow cake, and it almost gave me a nervous breakdown. (HA HA. You think I'm kidding?)
The rainbow layers had to be red, yellow, pink, and purple. It became a chant. Red, yellow, pink, and purple. Red, yellow, pink, and purple. IN THAT ORDER, or the unicorns would gouge out my eyes.(I'm kidding. I think.)Anyway, since she loves to play with my yarn whenever she comes to visit... ...I thought I would put together a little learn-to-knit kit for her, complete with Pony needles, a crochet hook, plenty of Knit Picks yarn and Lucinda Guy's Kids Learn to Knit, all in a project bag I sewed myself.
 The pattern is Kate Davies' "Two Kates" project bag. I finished it in a couple of hours (if that).
 I mucked up part of the seaming (so there are 'dimples' on either side of the handles, at the side seams), but I'm trying not to be such a perfectionist. It still looks good.More sewing is one of my resolutions for 2012!
Romping elephants
There's a donations/lost-and-found closet at Sadhana Forest where you can often find some really cool free clothing. Someone got rid of these awesome elephant pajama bottoms just because of a rip in the seam. So easy to fix! Elephants are my new obsession, although I don't yet have as much proof of it as I do my owls.
 Lakshmi, the temple elephant at Hampi, out for her morning constitutional/bath.(More proof here and here.)
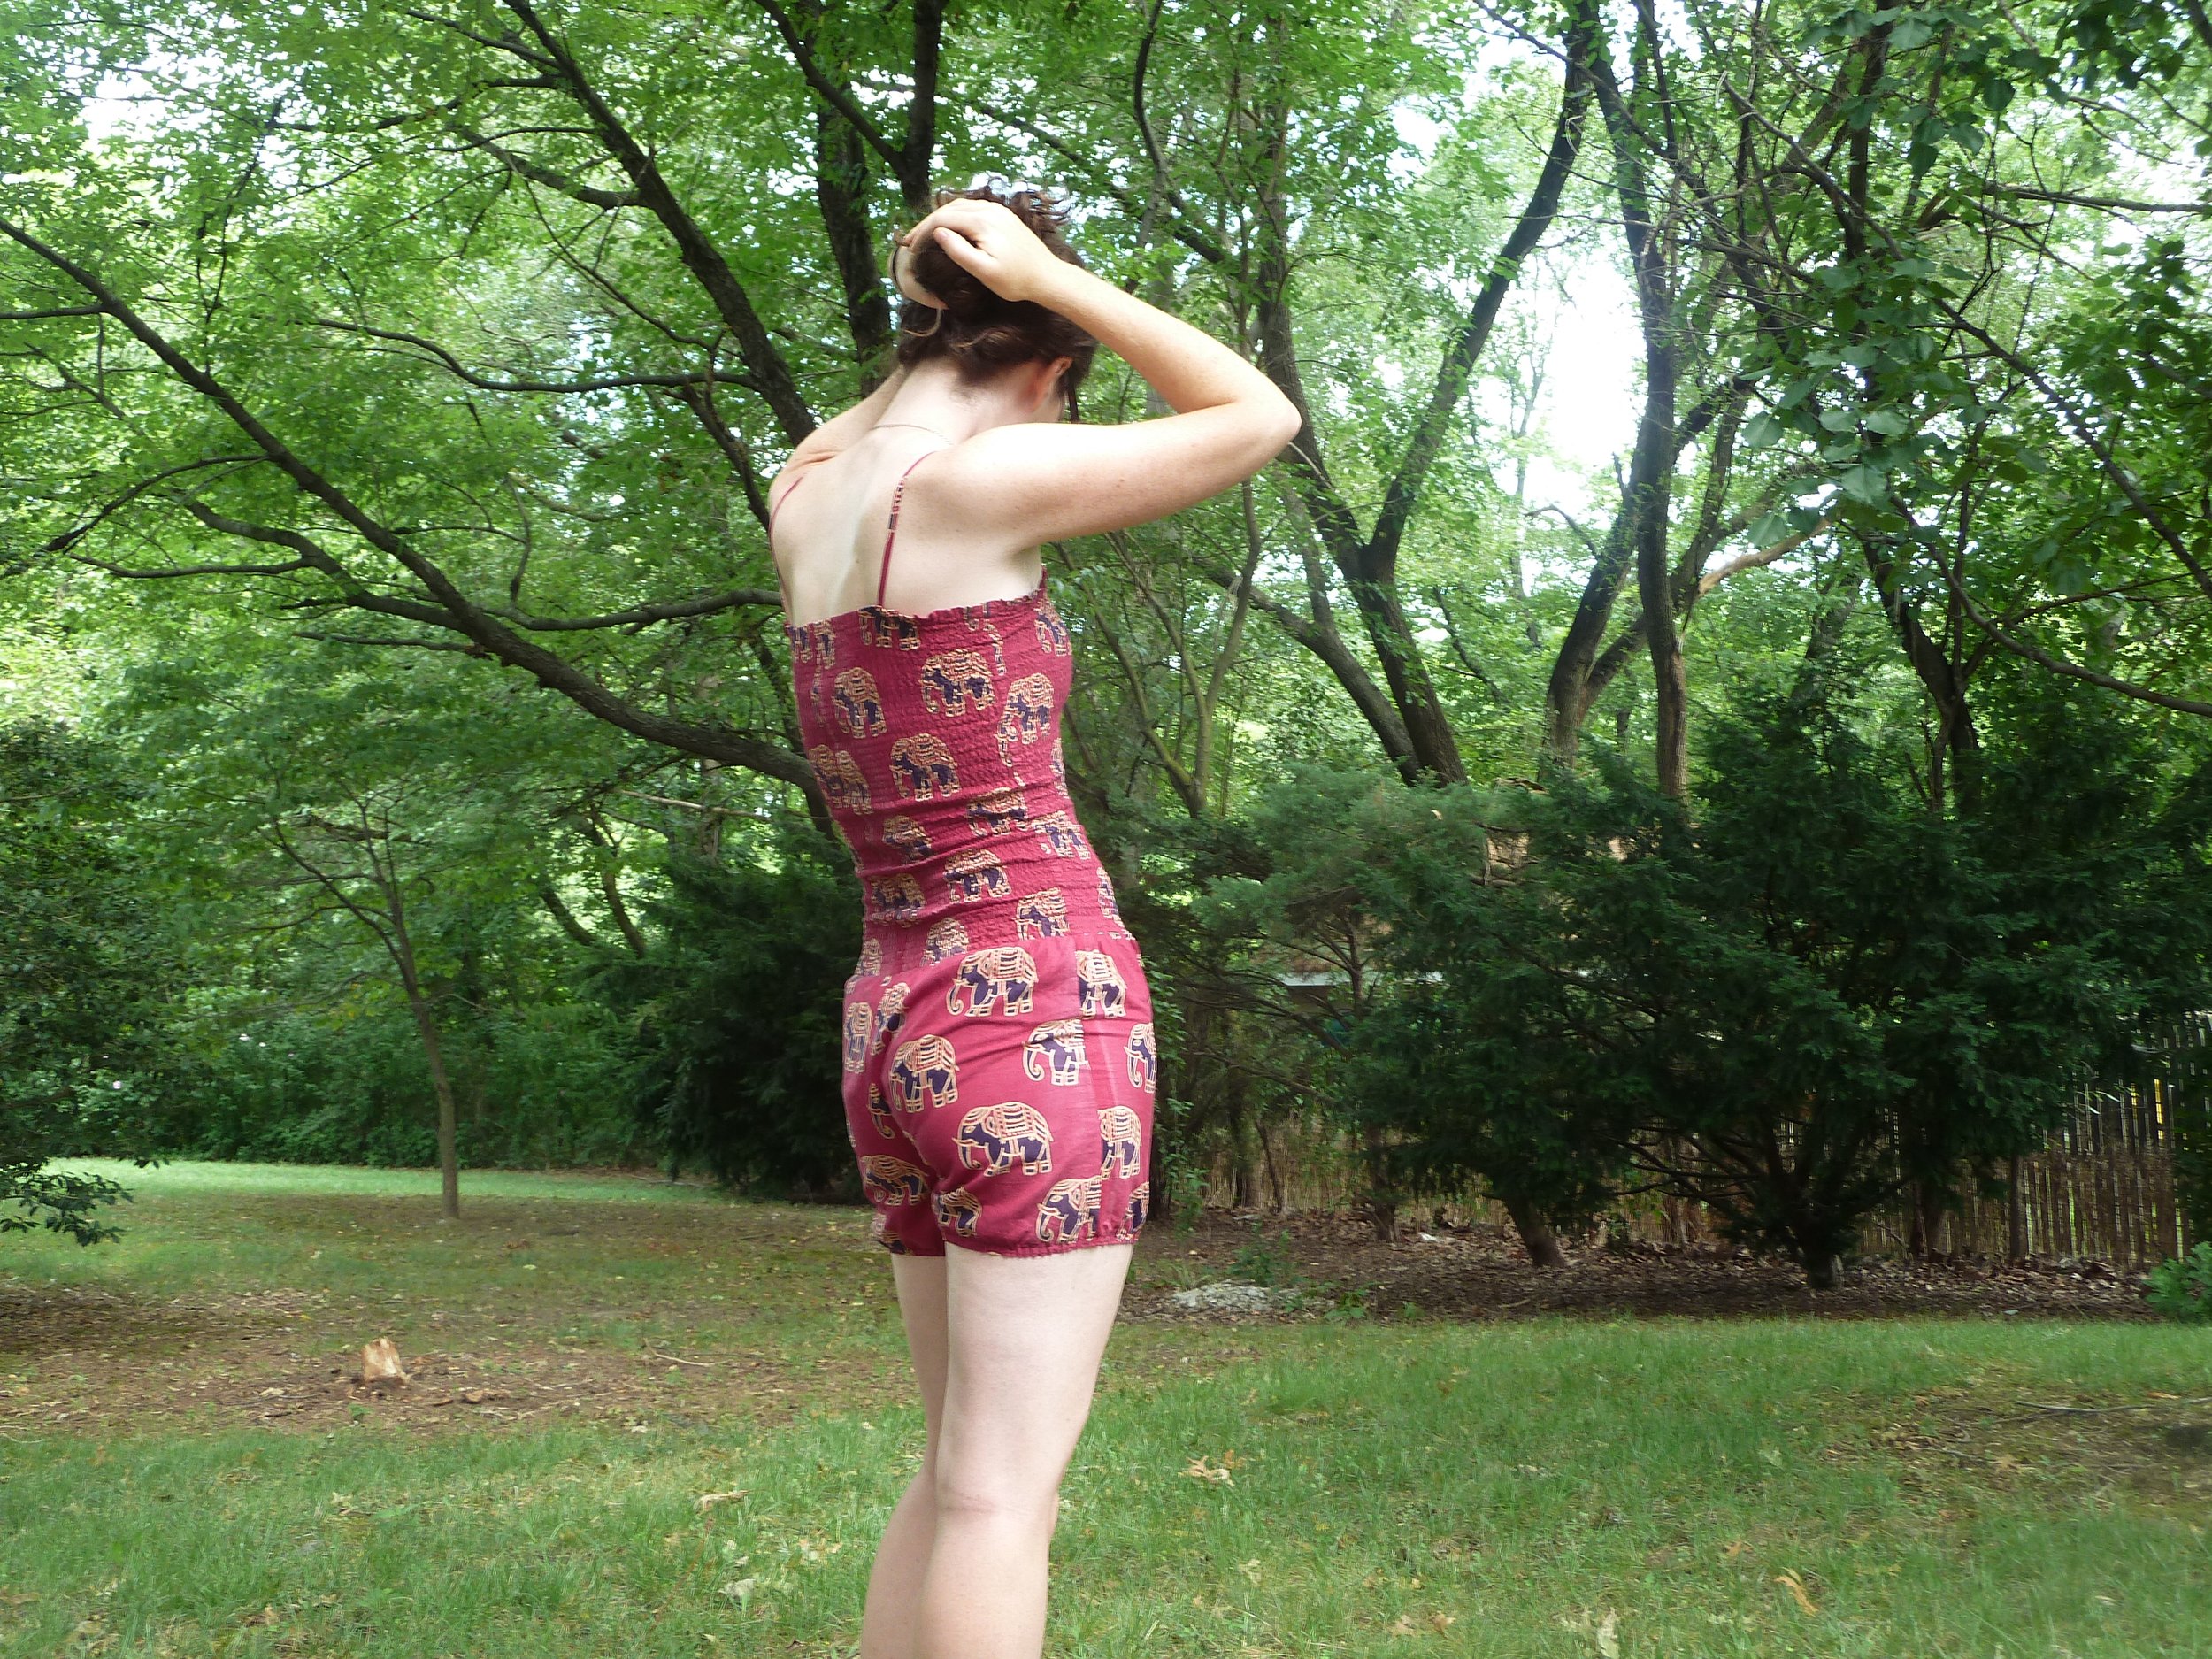
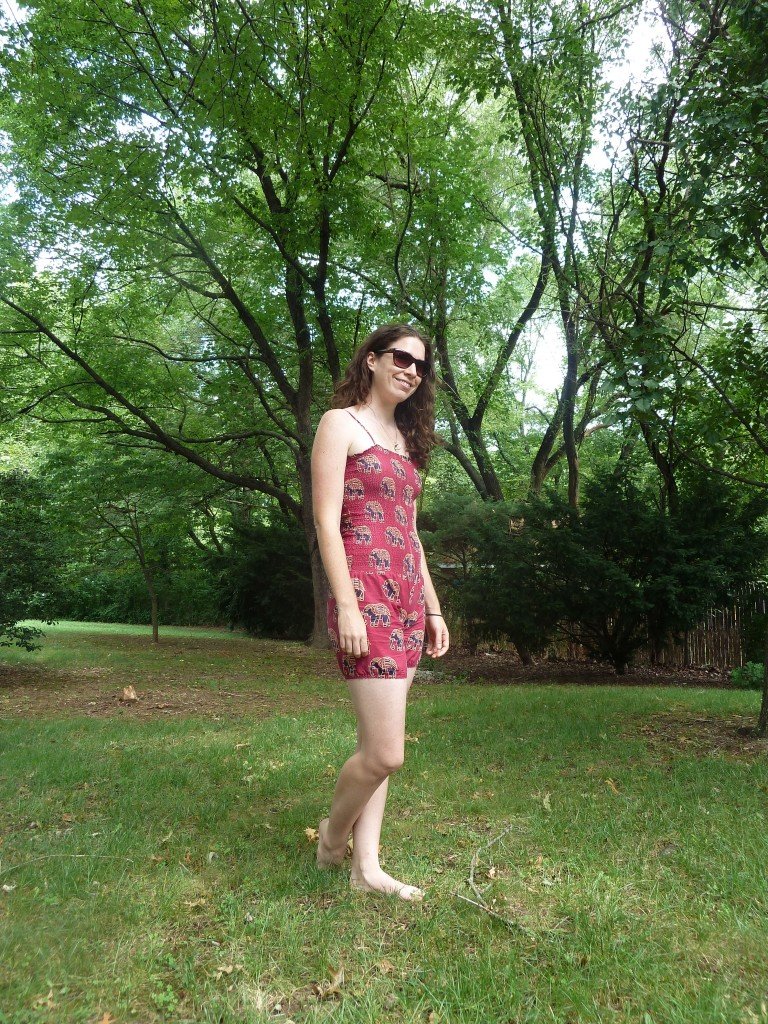
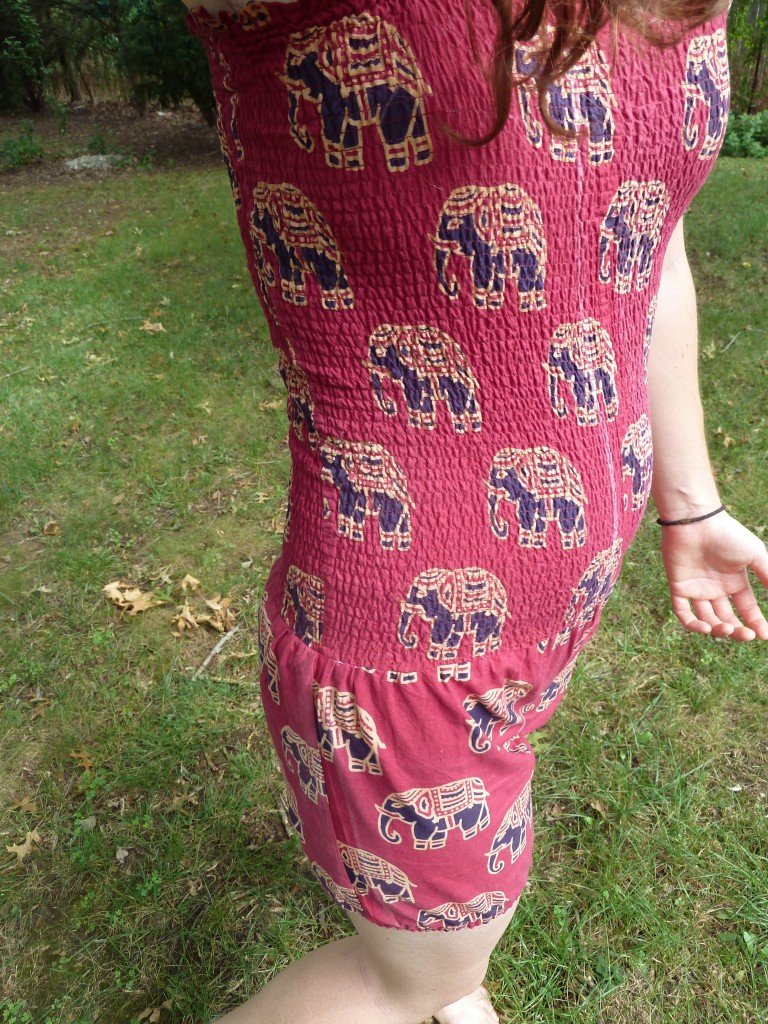
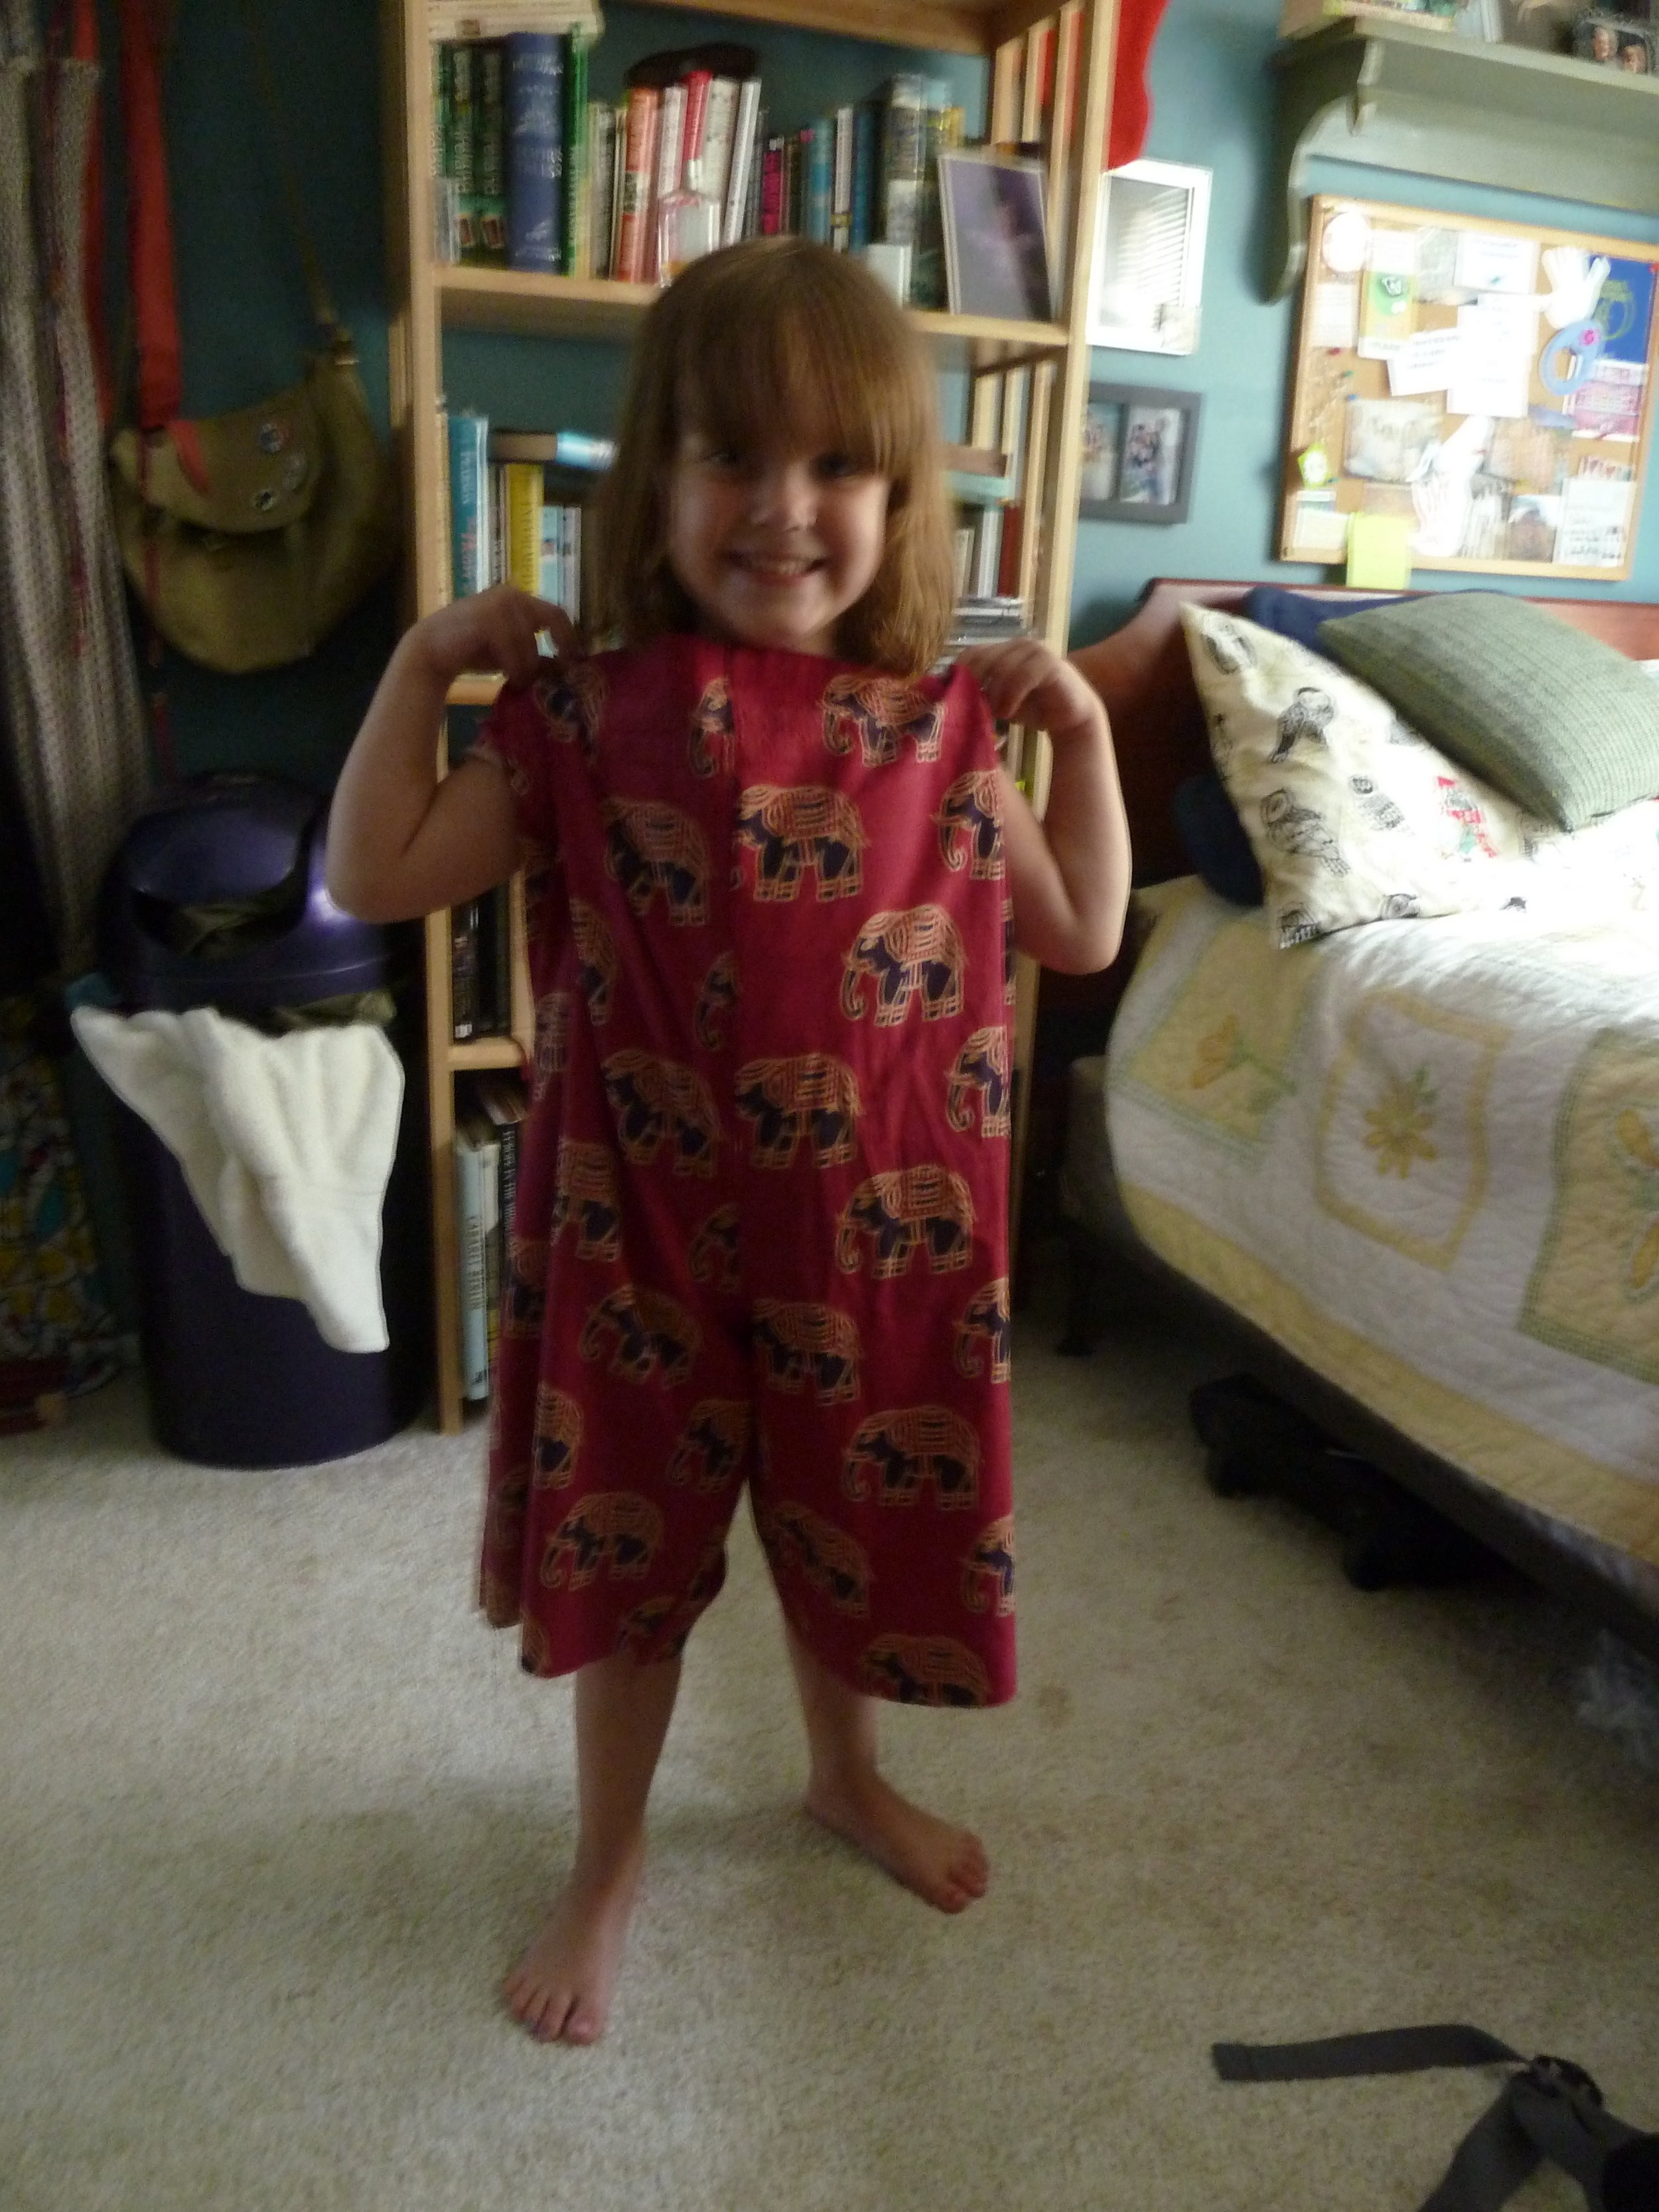 This fabric is really cool, but the pants were enormous. So I decided to make good friends with my seam ripper, and turn them into a romper using a pattern mash-up: the tried-and-true Mendocino sundress crossed with the McCall's pattern I used for my mermaid pajama bottoms. (Jill Draper was wearing an adorable strapless romper on our first night at Squam and I thought, I really need to make one of those! Perfect for bumming around the house.)I tried on one of my sundresses by pulling it up over my hips just to be sure I could get away with not using a zipper or some other form of closure.(Olivia wandered in while I was at my sewing machine, and wanted to try on the pants.)There are several sun-faded patches, but there was nothing I could do about that. The bodice is made up of four pieces from the lower legs. If I could sew it over again I'd make the legs longer, but oh well. I didn't reinstate the pockets (too much poochiness around the hips? and anyway, I'm lazy.) I fretted a bit over how best to join the two pieces, but it wasn't a big deal--I gathered the waist with a stray length of elastic thread, turned one piece inside the other with right sides facing, and stitched away.And I just used the drawstring for the straps! So easy!I always wonder how bloggers like Mena at The Sew Weekly can make a dress for a couple of dollars. Basically I need to start cruising some estate sales and flea markets! But I had thread to match and elastic thread left over from the sundresses, so this project was ALMOST free--I did run out of elastic toward the end, and had to buy one more spool. So total cost = $1.79 plus tax.
Weird angle, but you can see how I got the elephants lined up on the front center seam, woo hoo!(Thanks for the pics, Snook!)
Fast asleep in mermaid pajamas
(NERD ALERT:) I used french seams for the first time, which was very exciting. That's when you sew the seams on the right side (i.e., wrong sides facing), then turn it inside out and encase the first seam in the second seam. No fraying! What a revelation!
I wore these for the first time last night and, probably not coincidentally, had some lovely lovely dreams, none of which I can recall, although I'm pretty sure I composed the best novel I'll ever write, which was lost, of course, as soon as I woke up.(Nope, I'm not going to edit that.)And a couple more mermaidy goodies: Mermaid by Carolyn Turgeon (pre-order!), and her interview (just posted today) with Alice Hoffman, which includes advice to aspiring mermaids. HAH! Love it.


